
This post contains affiliate links. As an Amazon Associate, I earn from qualifying purchases at no extra cost to you.
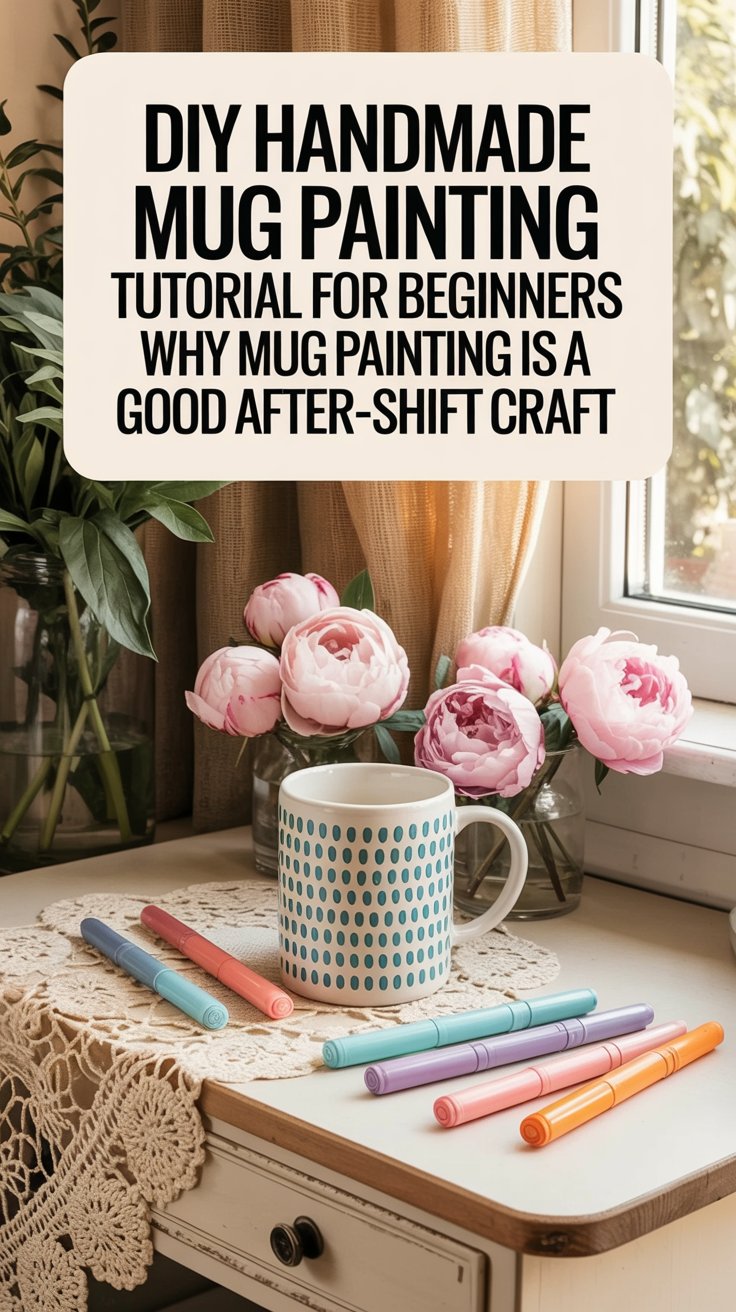
DIY handmade mug painting tutorial for beginners is a simple, calming craft you can finish in one evening. If you’re looking for a DIY handmade mug painting tutorial for beginners that feels realistic and relaxing after long shifts, this step-by-step guide walks you through everything clearly.
After a long shift, your brain doesn’t want complexity. It wants quiet. Something steady. Something that doesn’t ask you to solve a problem or answer a question.
Painting a mug sounds small — and it is. That’s the point.
It’s a low-cost, beginner-friendly project that gives you a soft landing after a hard day. No art degree required. No fancy tools. Just a plain mug, some paint, and 30–45 minutes where you don’t have to be “on.”
This guide walks you through it slowly, clearly, and realistically.
Why Mug Painting Is a Good After-Shift Craft
Shop the Look
- Plain white ceramic mugs for painting
- Beginner mug painting kits
- Oil-based Sharpie paint markers
- Calming repetitive craft supplies
You don’t need a big setup.
You don’t need a lot of time.
You don’t need to be creative on demand.
Mug painting works because:
- The surface is small and manageable.
- The movements are repetitive and calming.
- It turns into something you’ll actually use.
- You can finish it in one evening.
And the next morning, when you hold that mug? It feels personal in a way store-bought never does.
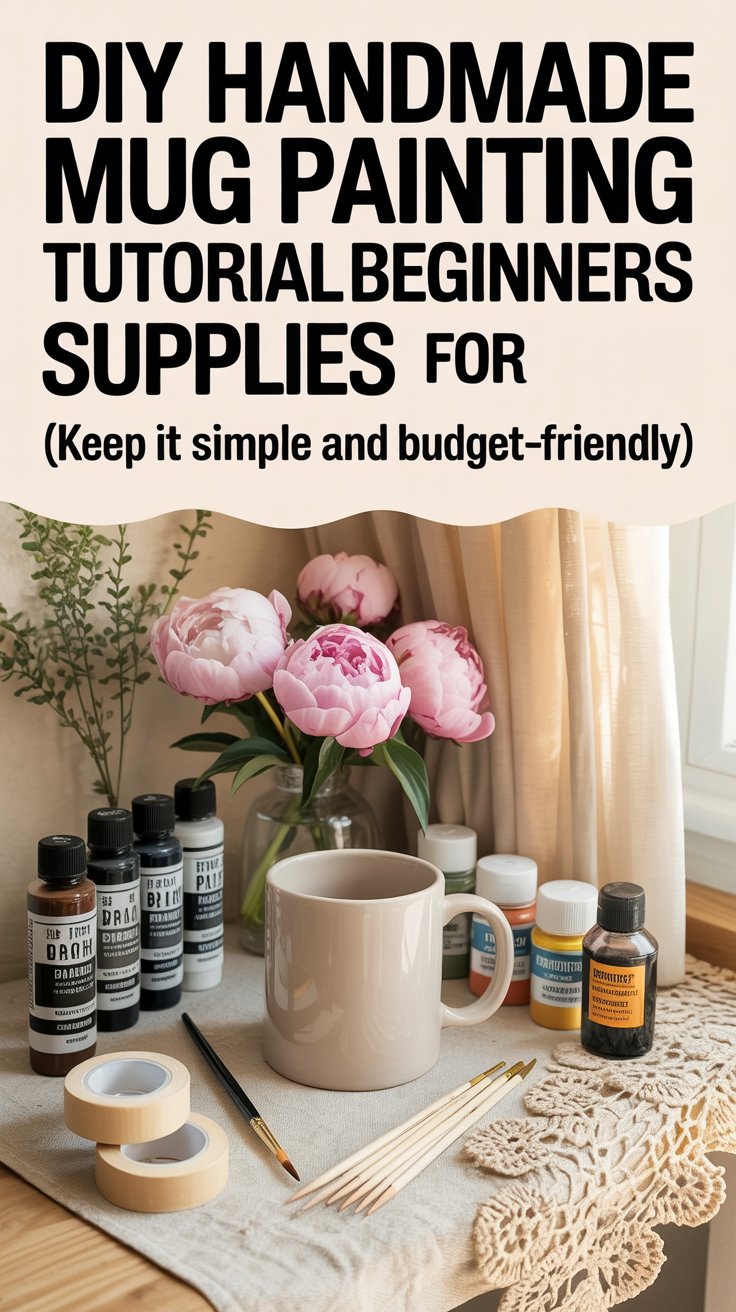
Supplies (Keep It Simple and Budget-Friendly)
Shop the Look
- Plain white ceramic mugs bulk
- Oil-based paint markers for ceramic
- Small acrylic paint brushes set
- Rubbing alcohol for crafts
You truly don’t need much.
Basic Supplies
- Plain ceramic mug (white or light-colored)
- Oil-based paint markers or acrylic paint
- Small paintbrush (if using acrylic)
- Rubbing alcohol
- Cotton pad or paper towel
- Oven (if using bakeable paint)
Optional but Helpful
- Pencil (for light sketching)
- Painter’s tape (for straight lines)
- Toothpicks (great for dot details)
- A plate for a paint palette
Budget Tip
Dollar stores often carry plain mugs and basic acrylic paint. Craft stores also sell ceramic-safe paint markers that are beginner-friendly and less messy than brushes.
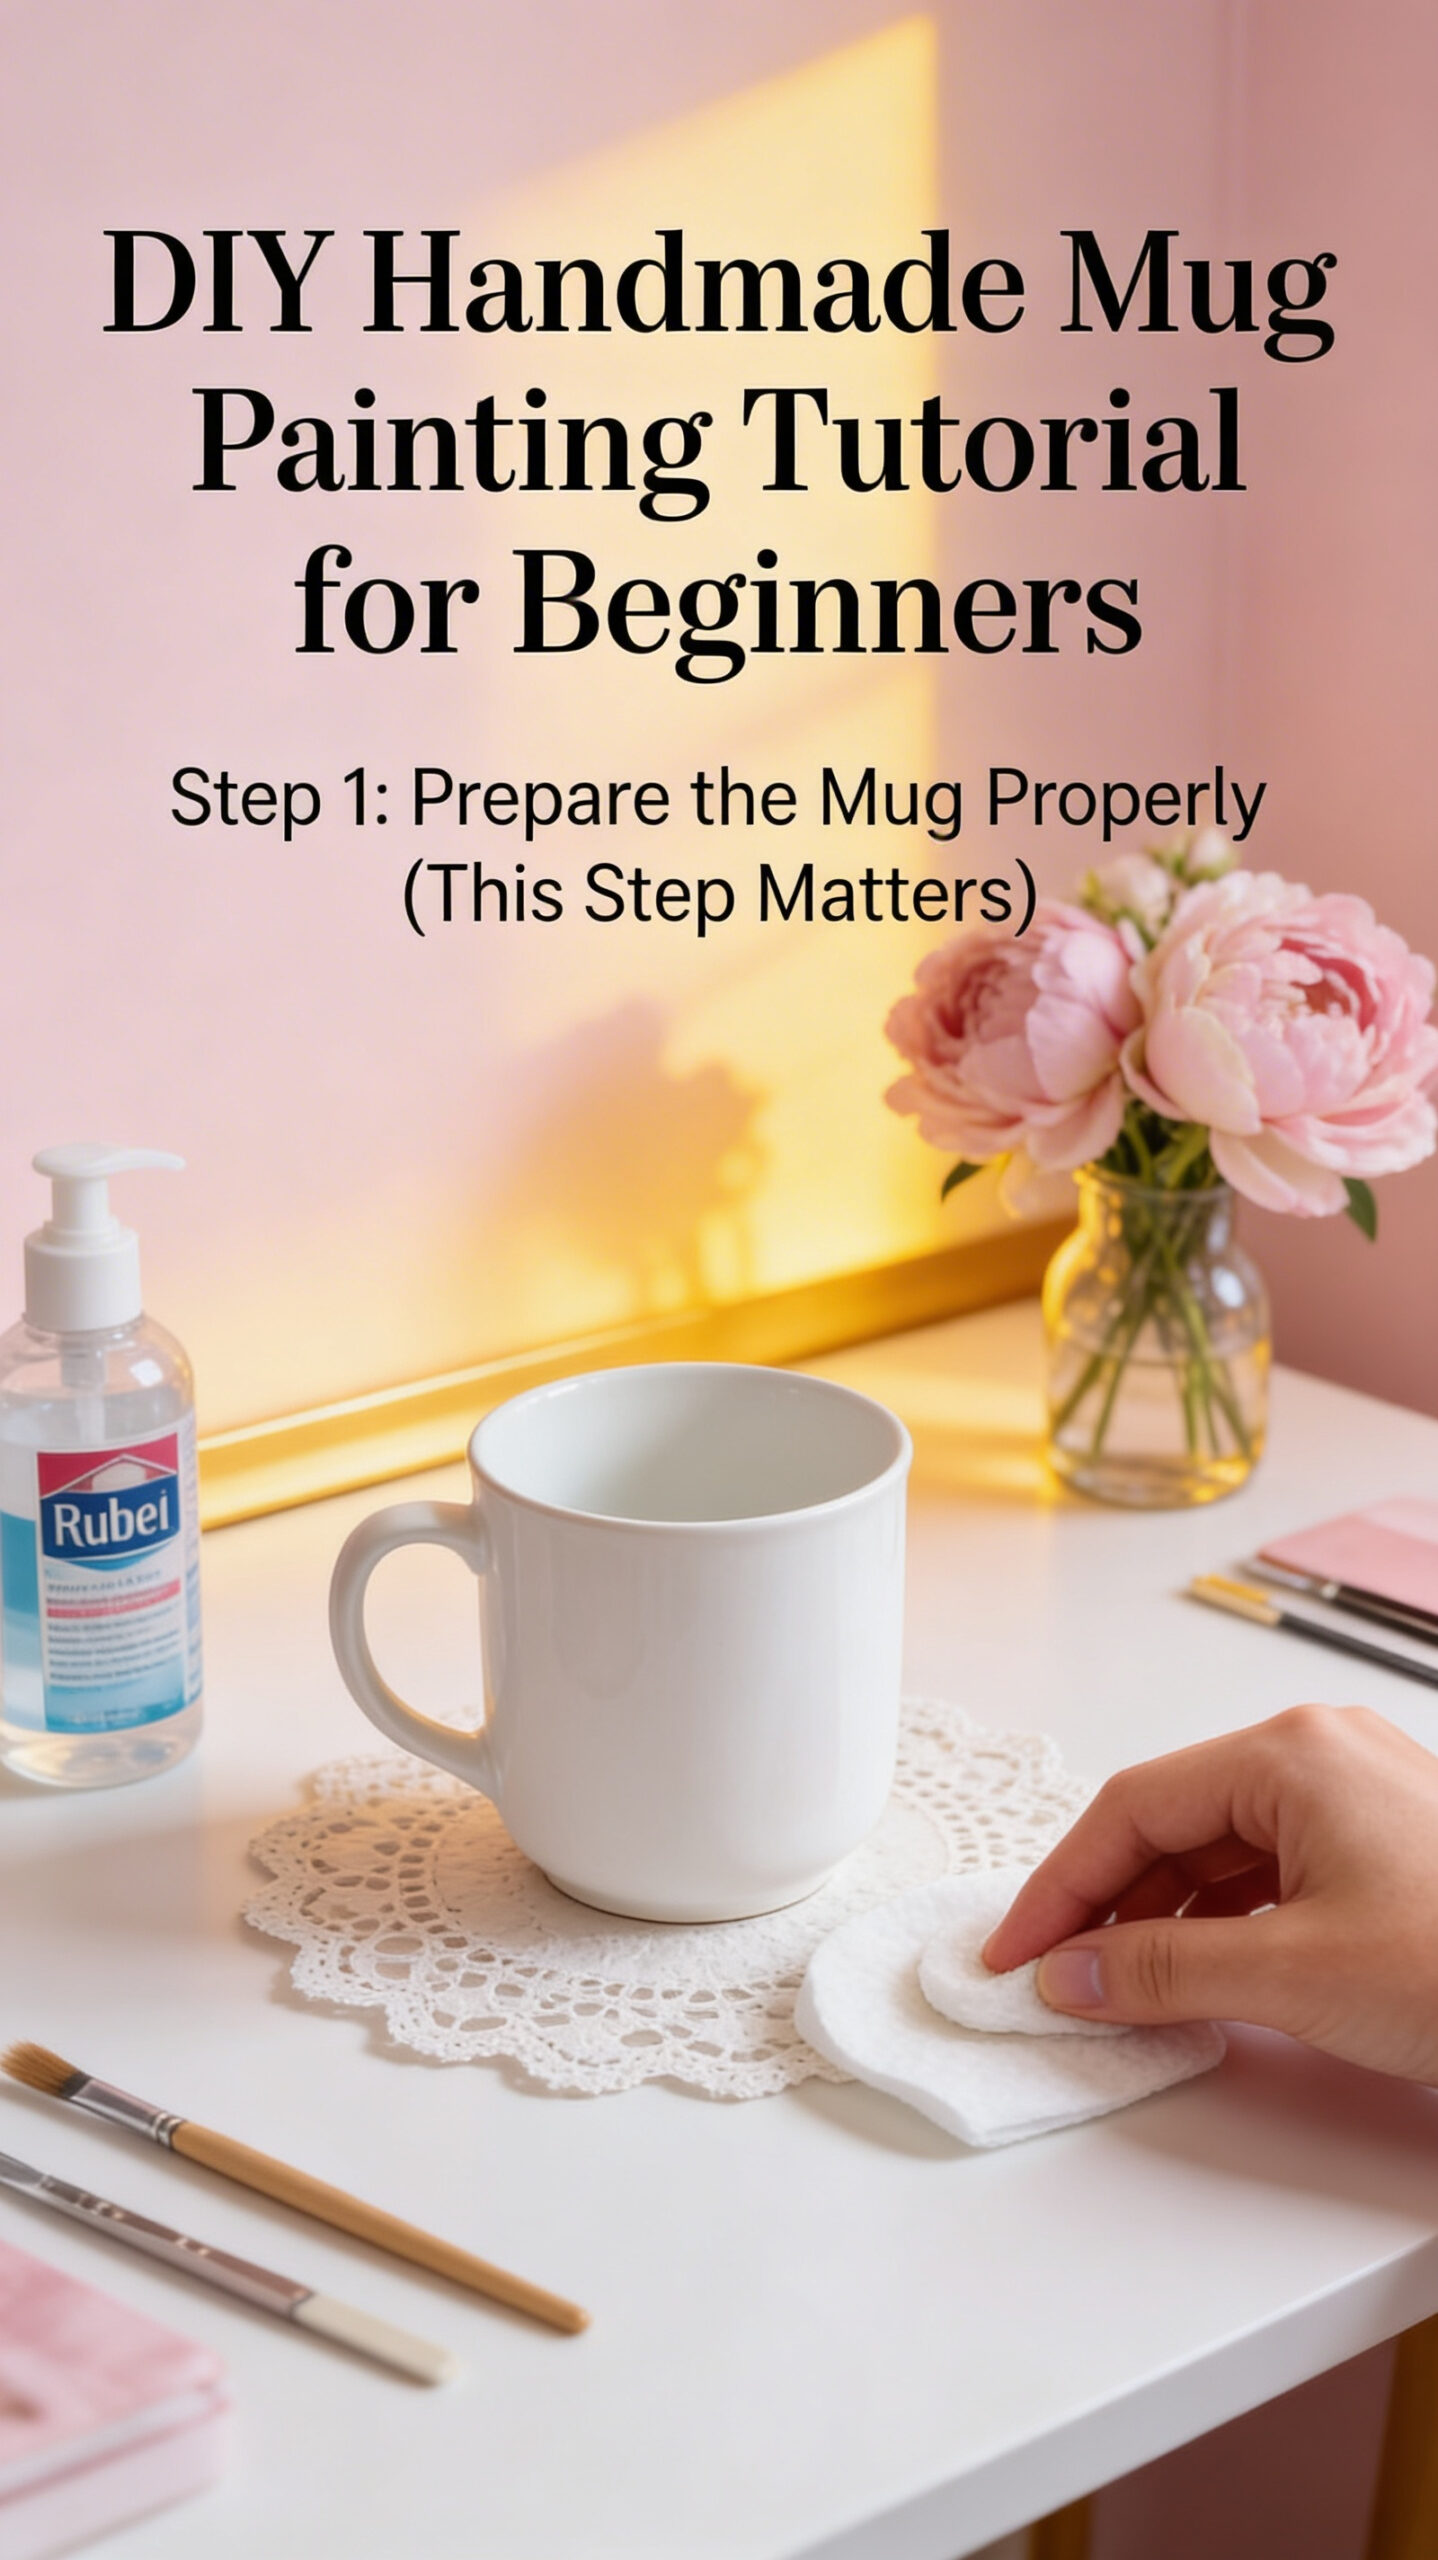
Step 1: Prepare the Mug Properly (This Step Matters)
Shop the Look
- Rubbing alcohol 99% for cleaning
- Cotton pads for wiping
- Dish soap gentle for ceramics
- Microfiber cloths lint free
It’s tempting to skip prep. Don’t.
Wash the mug with soap and water. Dry it completely. Then wipe the entire surface with rubbing alcohol.
Why? Your hands leave natural oils. Paint won’t adhere properly if the surface isn’t clean.
Let it air dry for a few minutes. Now you’re ready.
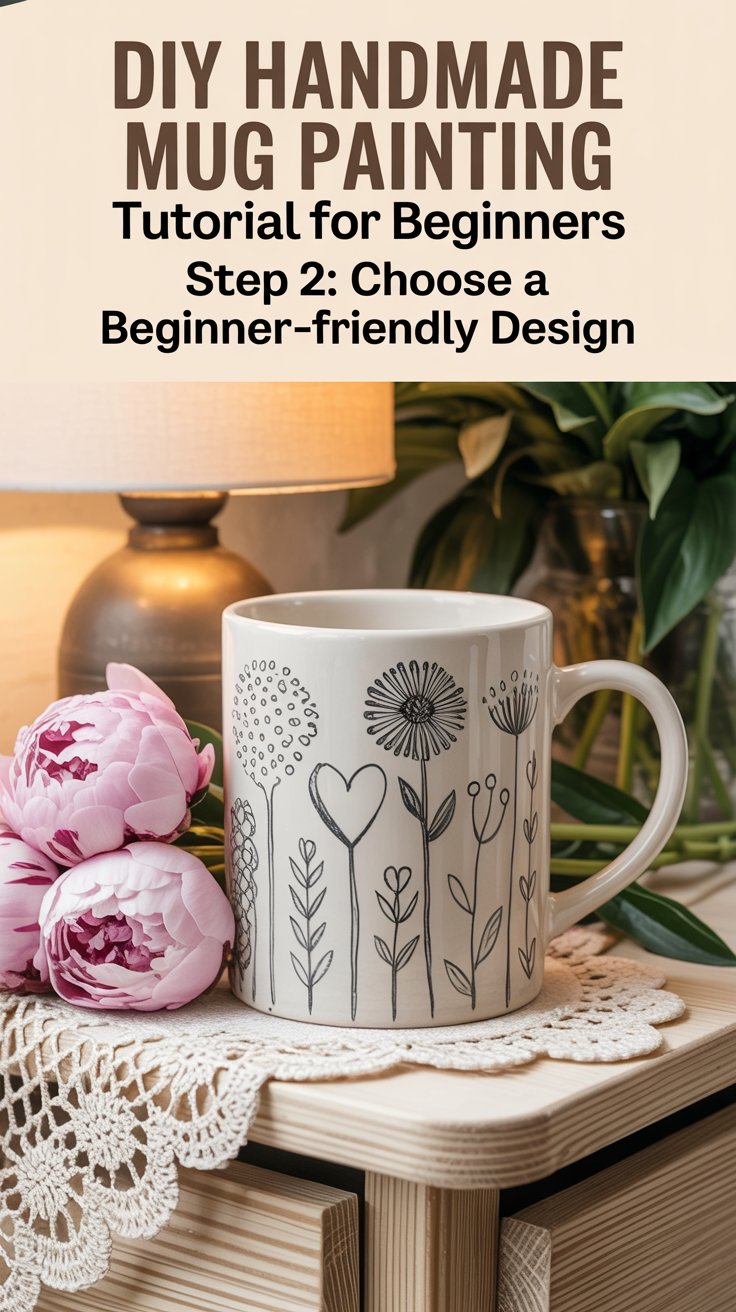
Step 2: Choose a Beginner-Friendly Design
Shop the Look
- Pencils for light sketching crafts
- Mug stencils polka dots hearts
- Wildflower design templates printable
- Dotting tools for crafts
If you’re tired, keep it simple.
This is not the night to attempt intricate landscapes or detailed portraits.
Good beginner ideas:
- Polka dots
- Tiny scattered hearts
- Minimalist line near the base
- Simple wildflowers
- A short grounding word
When in doubt, dots win. They’re forgiving and almost impossible to ruin.
If you want lettering, lightly sketch in pencil first. Don’t press hard — just enough to guide your hand.
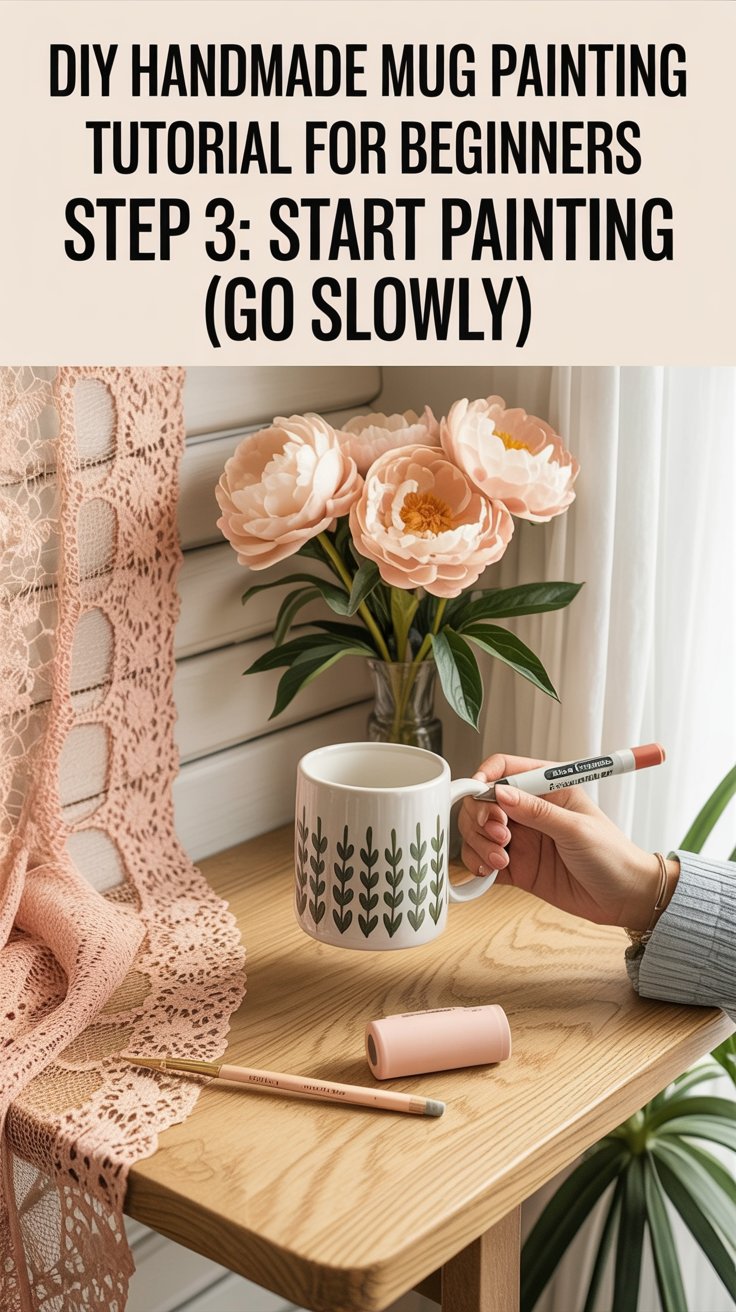
Step 3: Start Painting (Go Slowly)
Shop the Look
- Oil-based paint markers fine tip
- Acrylic paints for mug ceramic
- Small detail paintbrushes set
- Test paper for paint markers
If Using Paint Markers:
- Shake thoroughly.
- Test on paper first.
- Press gently to activate ink.
- Apply light pressure to the mug.
Markers are great for beginners because they feel like drawing instead of painting.
If Using Acrylic Paint:
- Use thin layers.
- Let each layer dry before adding another.
- Avoid thick paint blobs — they crack when baked.
Work slowly. Rest your wrist if needed. Rotate the mug instead of twisting your hand awkwardly.
There is no rush.
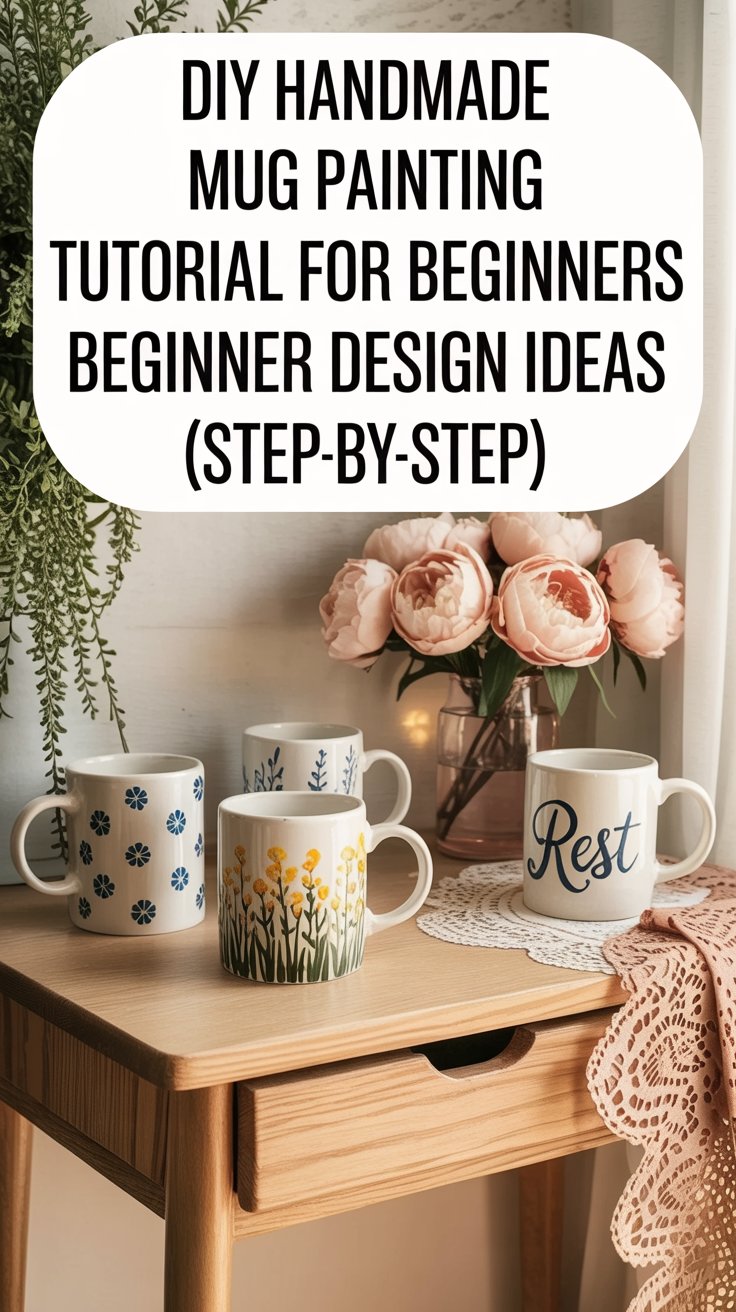
Beginner Design Ideas (Step-by-Step)
Shop the Look
- Painter’s tape for crafts
- Toothpicks for dot painting
- Mug wildflower stencils
- Lettering stencils for mugs
1. Soft Polka Dot Wrap
- Pick 1–2 colors.
- Start near the base and work upward.
- Use a toothpick for tiny dots or the back of a brush for medium dots.
- Vary sizes slightly for a more organic look.
Even spacing isn’t required. Slight irregularity makes it feel handmade.
2. Simple Wildflower Line
- Paint thin green stems.
- Add tiny colored dots at the top for flowers.
- Keep spacing loose and natural.
Imperfect petals look realistic. Don’t overwork them.
3. Minimalist Rim Accent
- Place painter’s tape about 1–2 inches below the rim (not on the drinking edge).
- Paint below the tape.
- Remove tape gently before the paint fully dries.
This creates a clean, subtle accent without heavy detail work.
4. One Word Design
Pick something grounding:
Rest
Enough
Slow
Breathe
Lightly pencil guide lines to keep lettering straight. Trace slowly with marker or thin brush.
If lettering feels intimidating, print the word in a simple font and lightly trace over it with pencil as a guide.
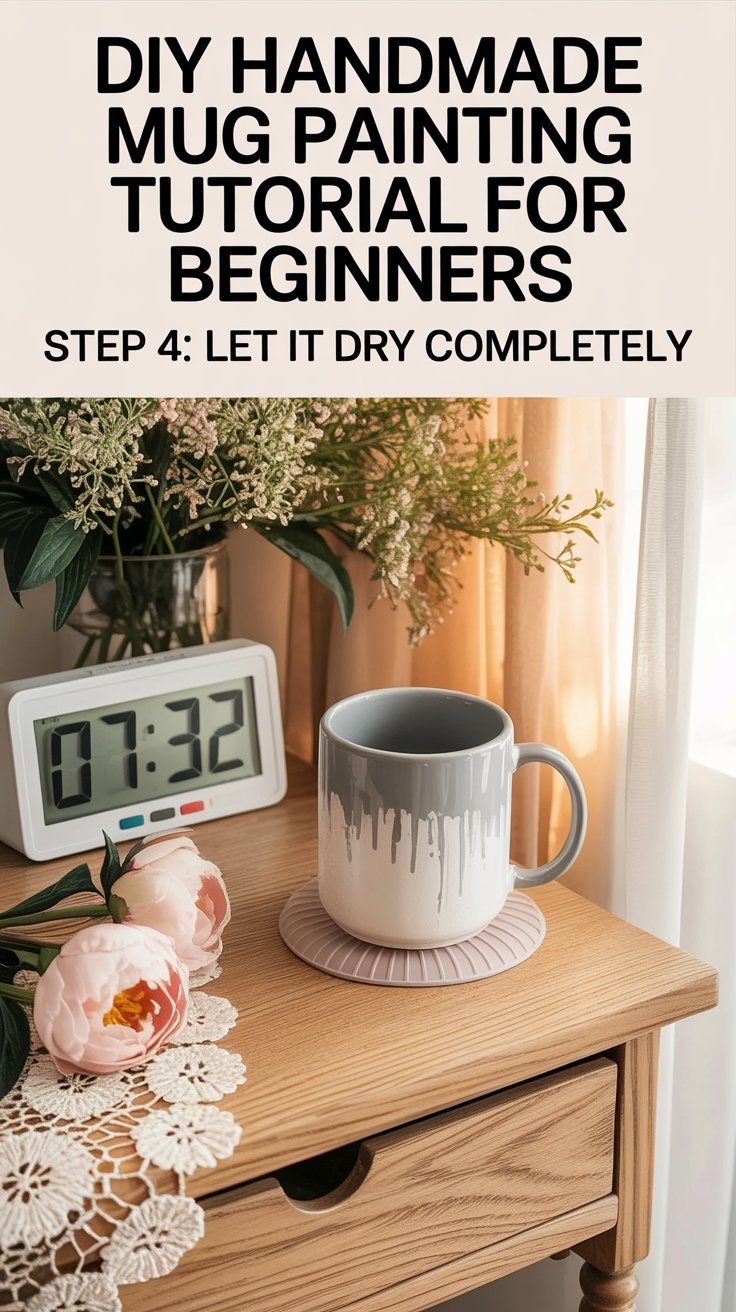
Step 4: Let It Dry Completely
Shop the Look
Patience here prevents frustration later.
Let your painted mug air dry for at least 24 hours before baking (if required).
This prevents bubbling, smudging, and cracking.
Place it somewhere safe and forget about it until the next day.
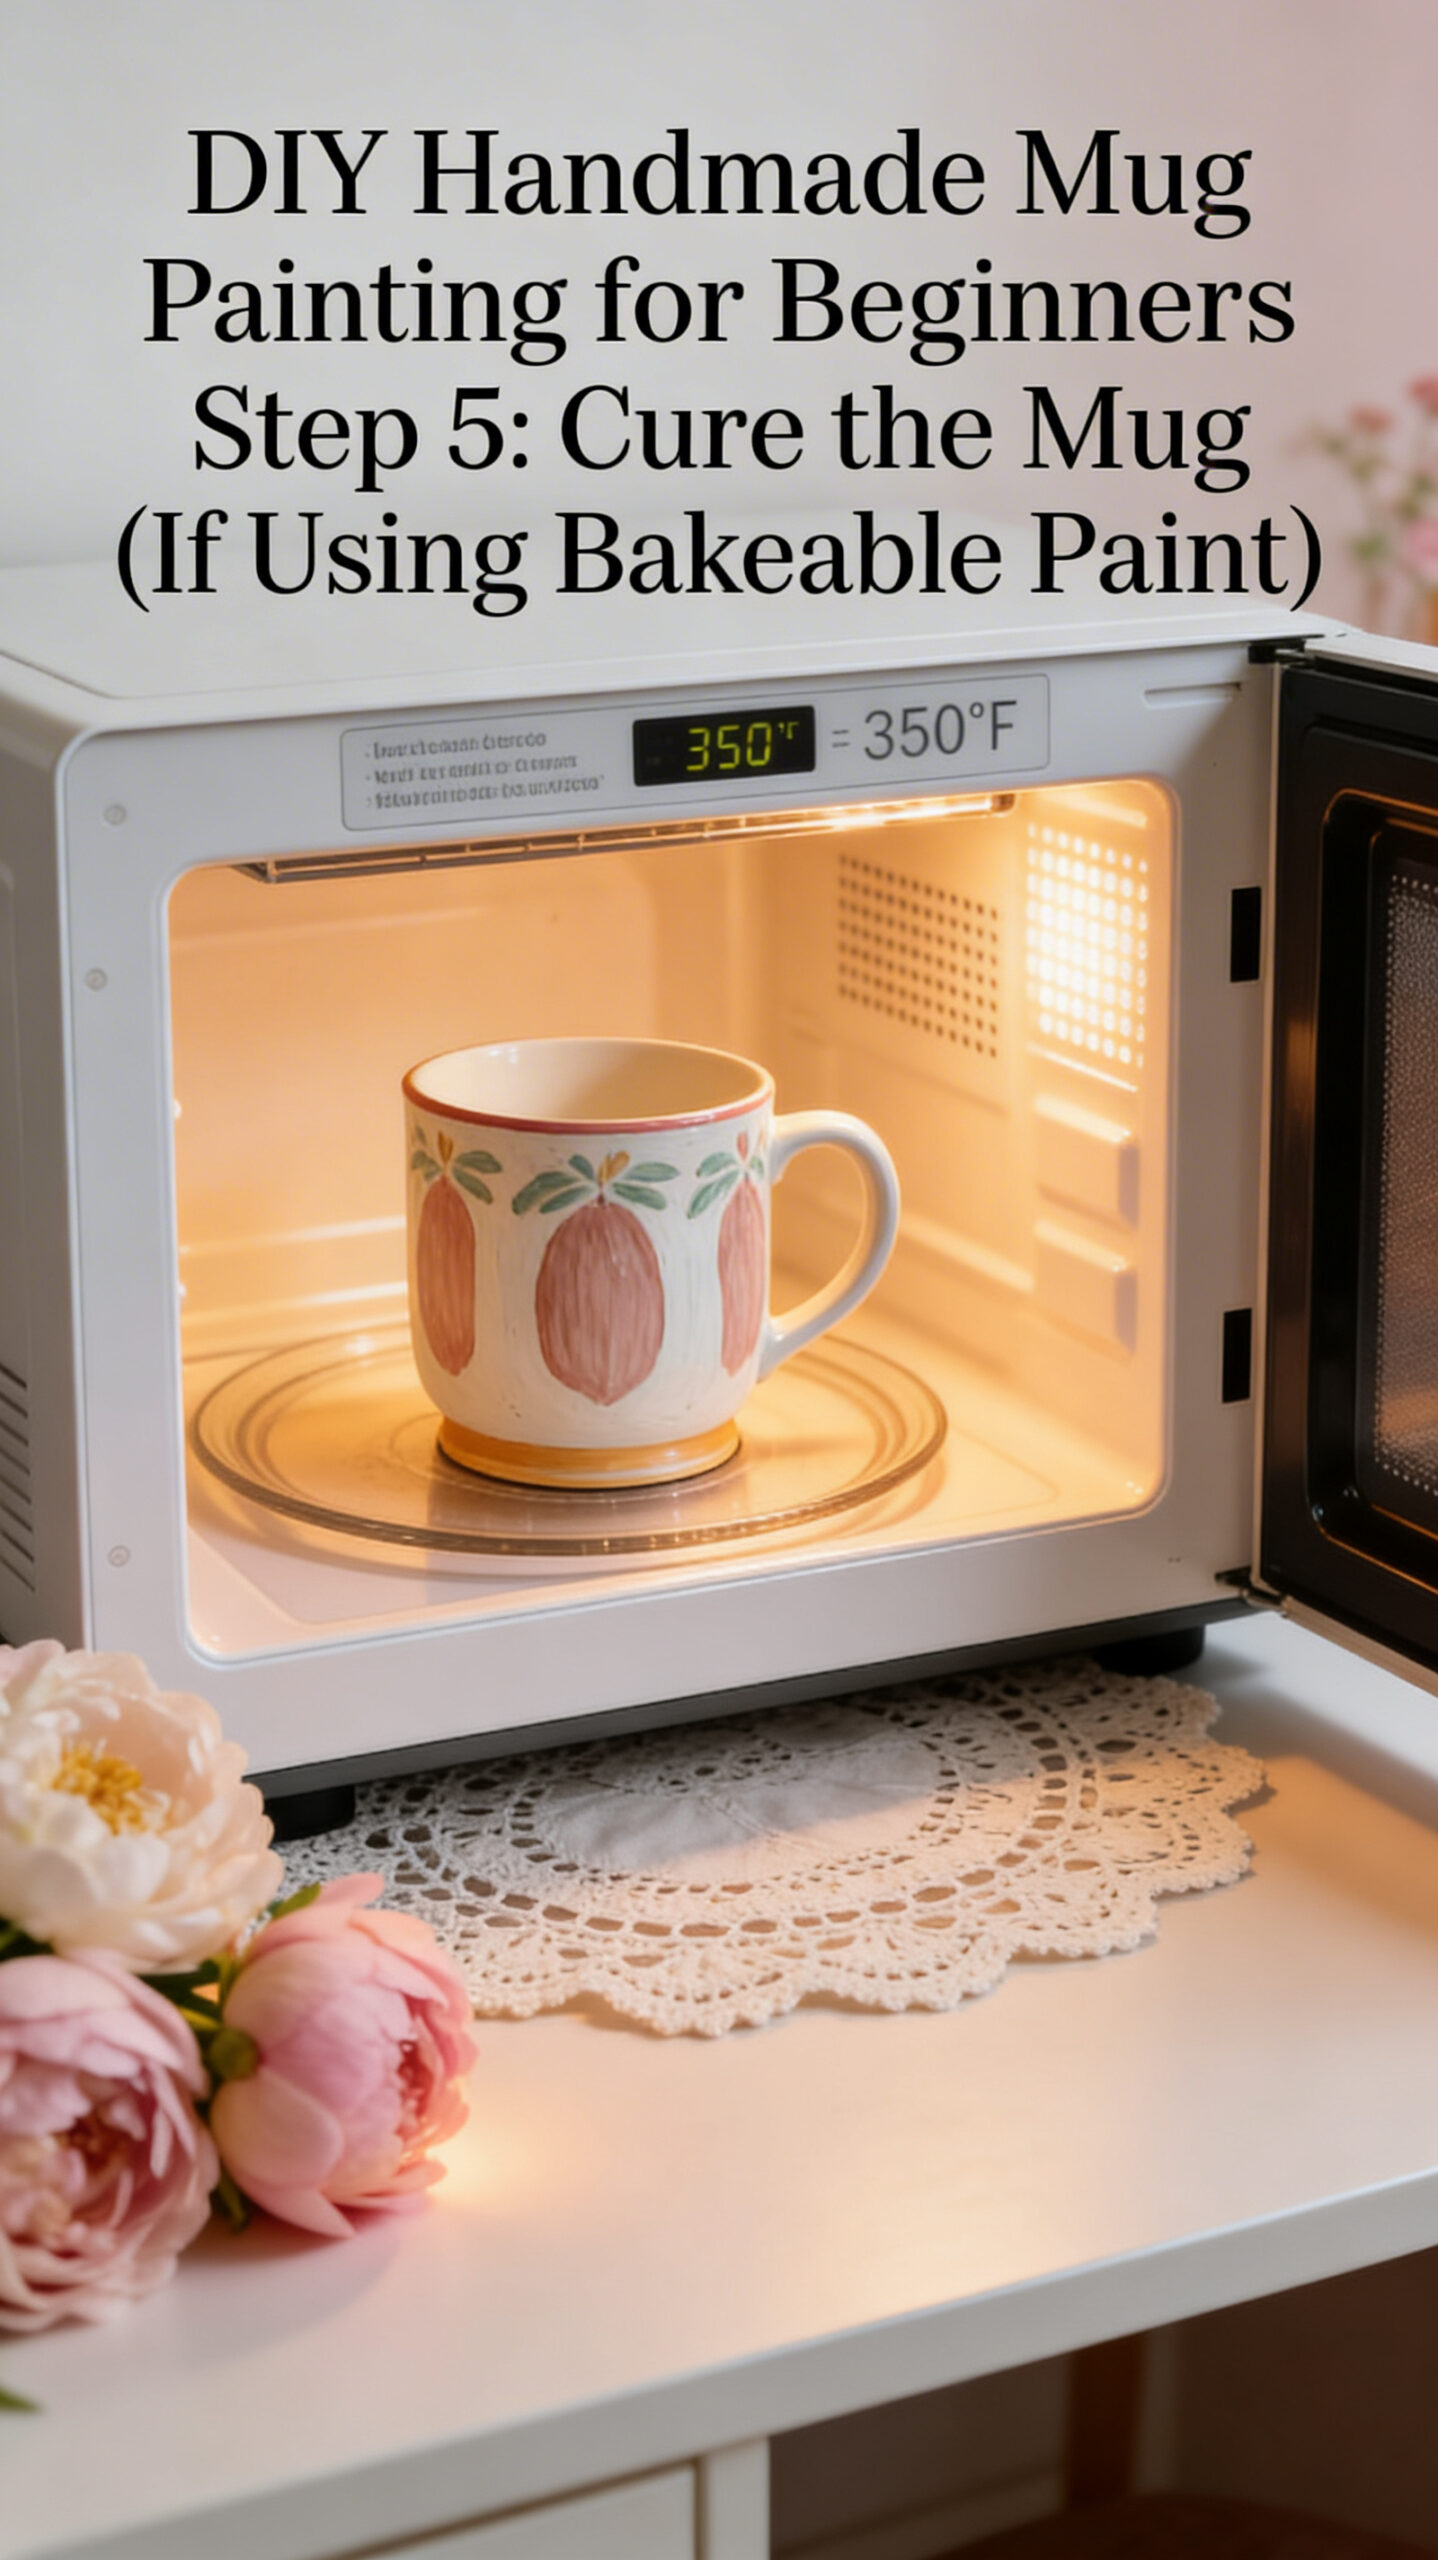
Step 5: Cure the Mug (If Using Bakeable Paint)
Shop the Look
- Oven thermometer accurate
- Oven mitts heat resistant
- Bakeable ceramic paint pens
- Ceramic baking trays
Always check your specific paint instructions, but the general method is:
- Place mug in a cool oven.
- Set oven to 350°F.
- Bake for 30 minutes.
- Turn oven off.
- Let mug cool inside the oven.
Never put a cold mug into a preheated oven. Sudden temperature shifts can crack ceramic.
Once cool, your design should be sealed.
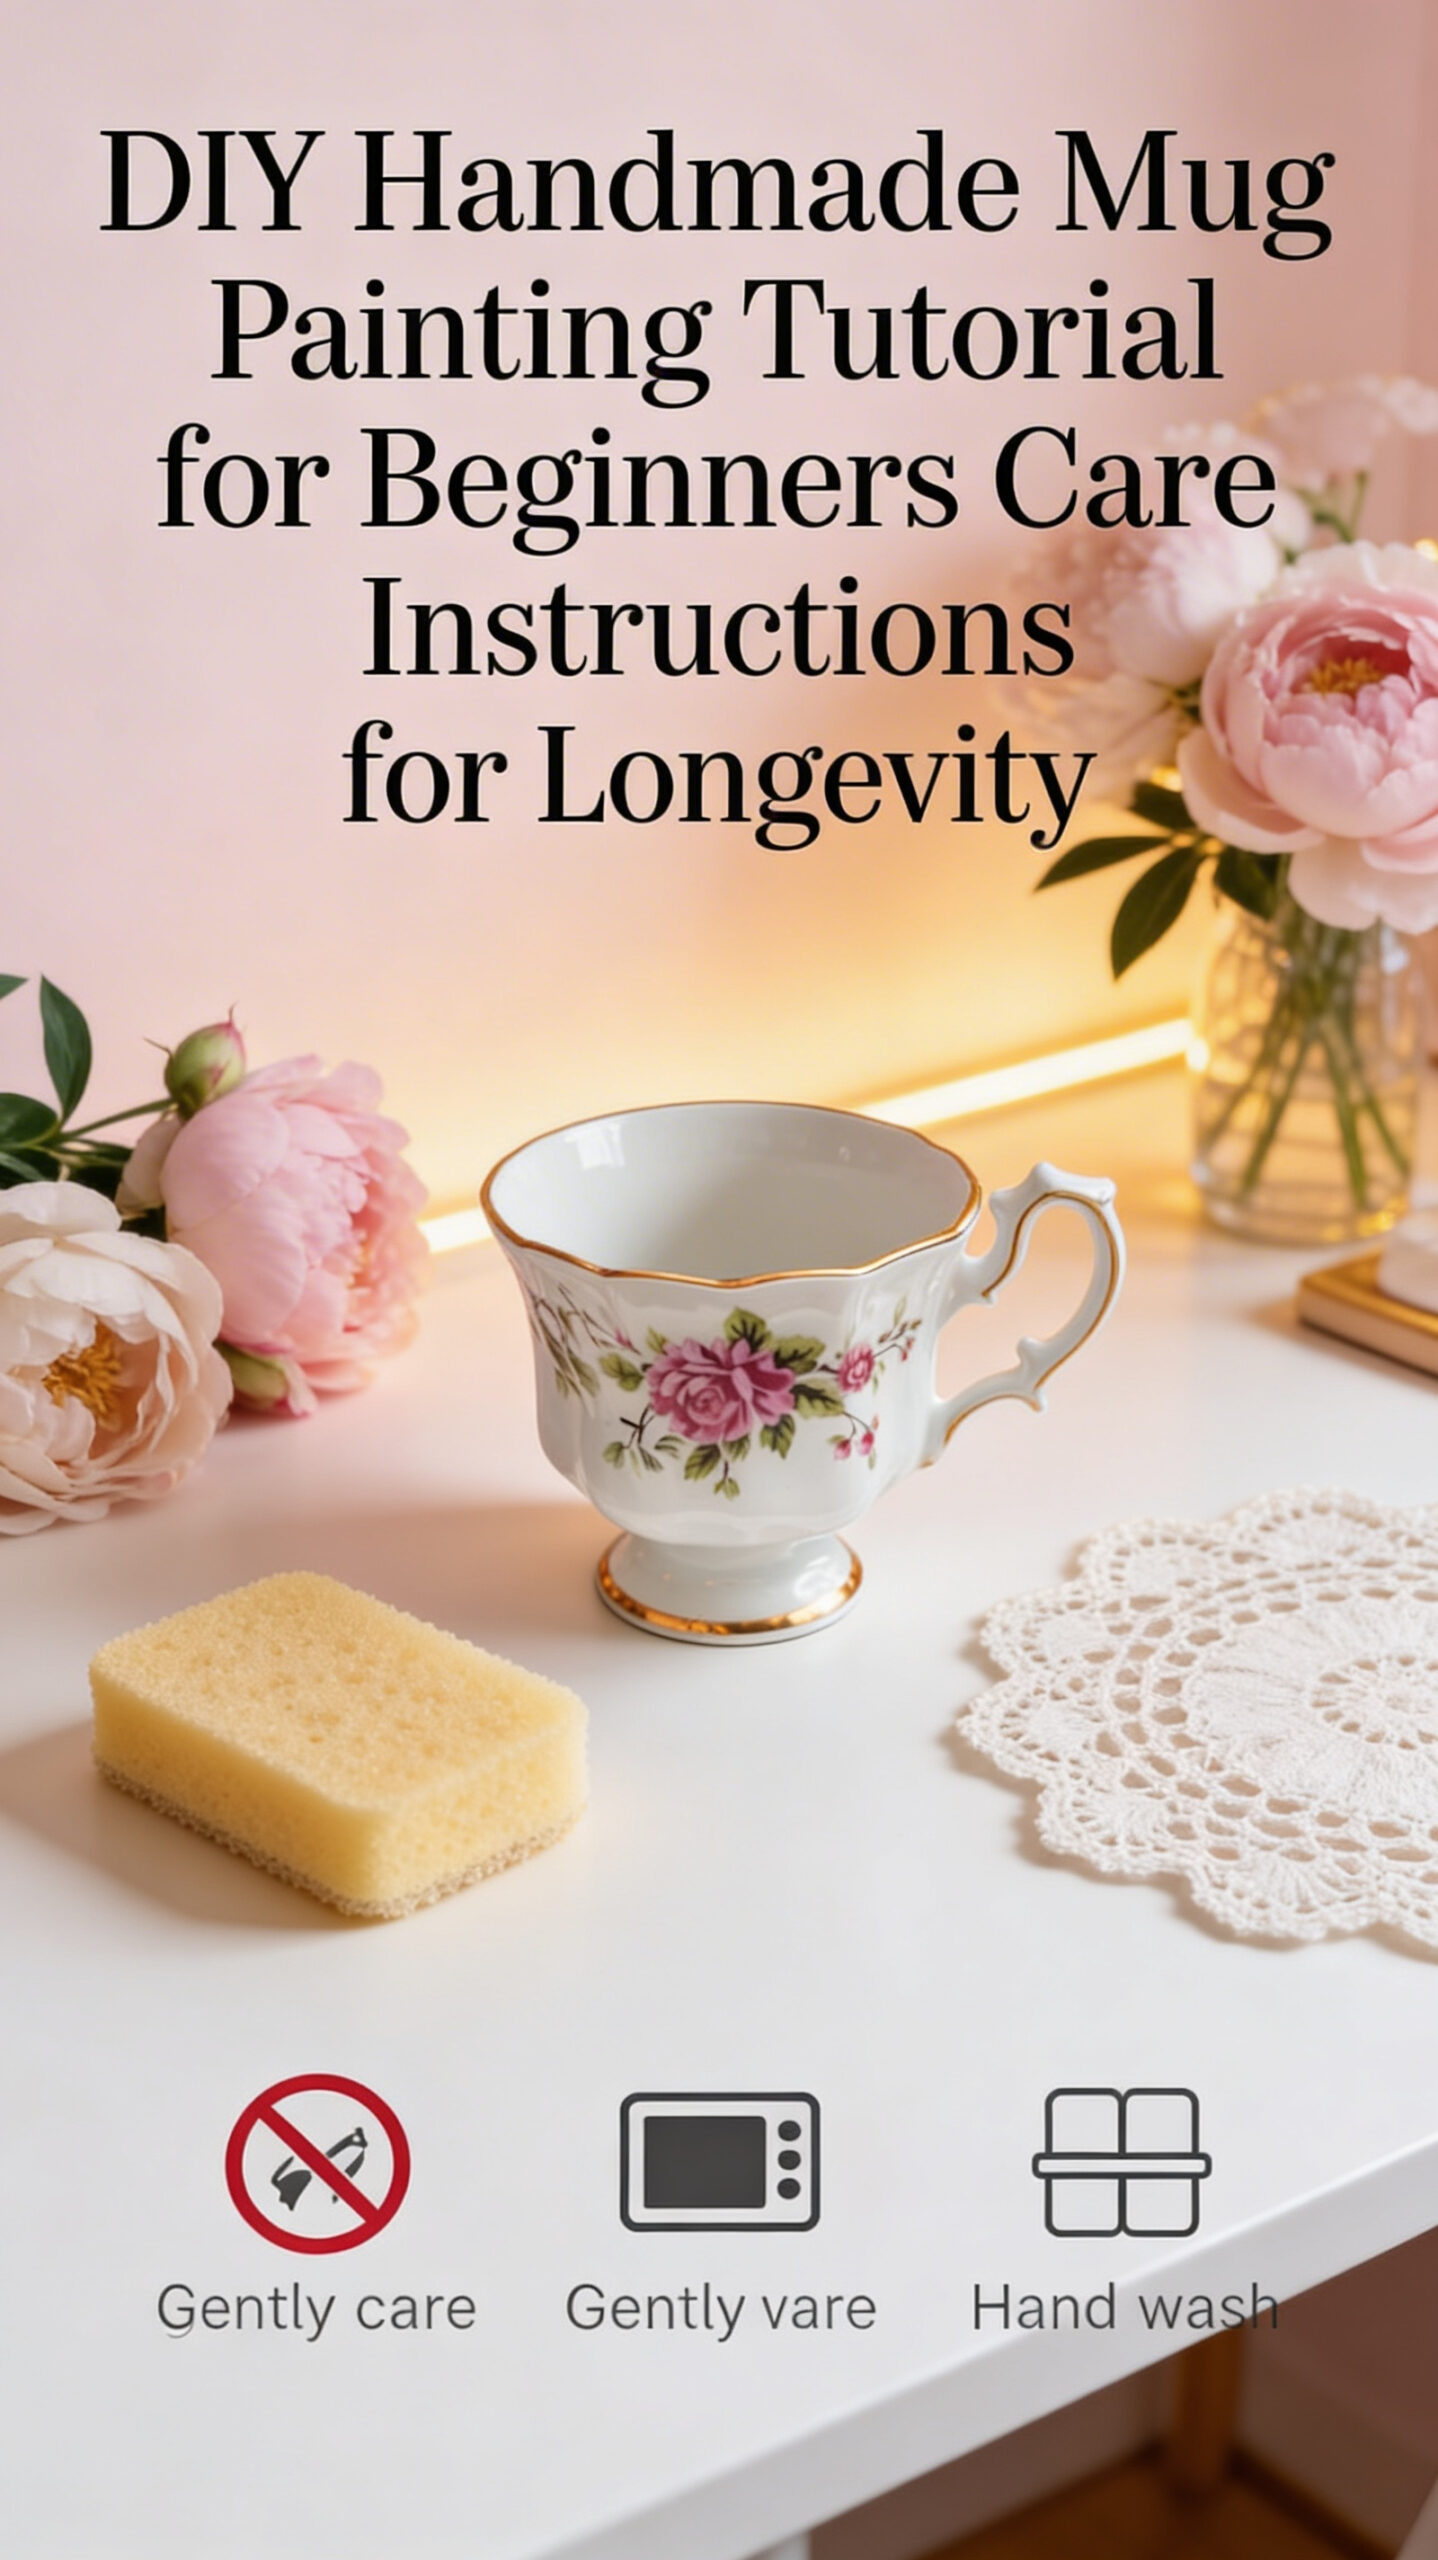
Care Instructions for Longevity
Shop the Look
- Soft hand wash sponges
- Gentle dish soap concentrate
- Mug coasters protective
- Microfiber cleaning cloths
Hand wash only.
Avoid scrubbing directly over the design.
Don’t soak overnight.
Avoid microwaving if the design is near the rim.
Treat it gently, and it will last much longer.
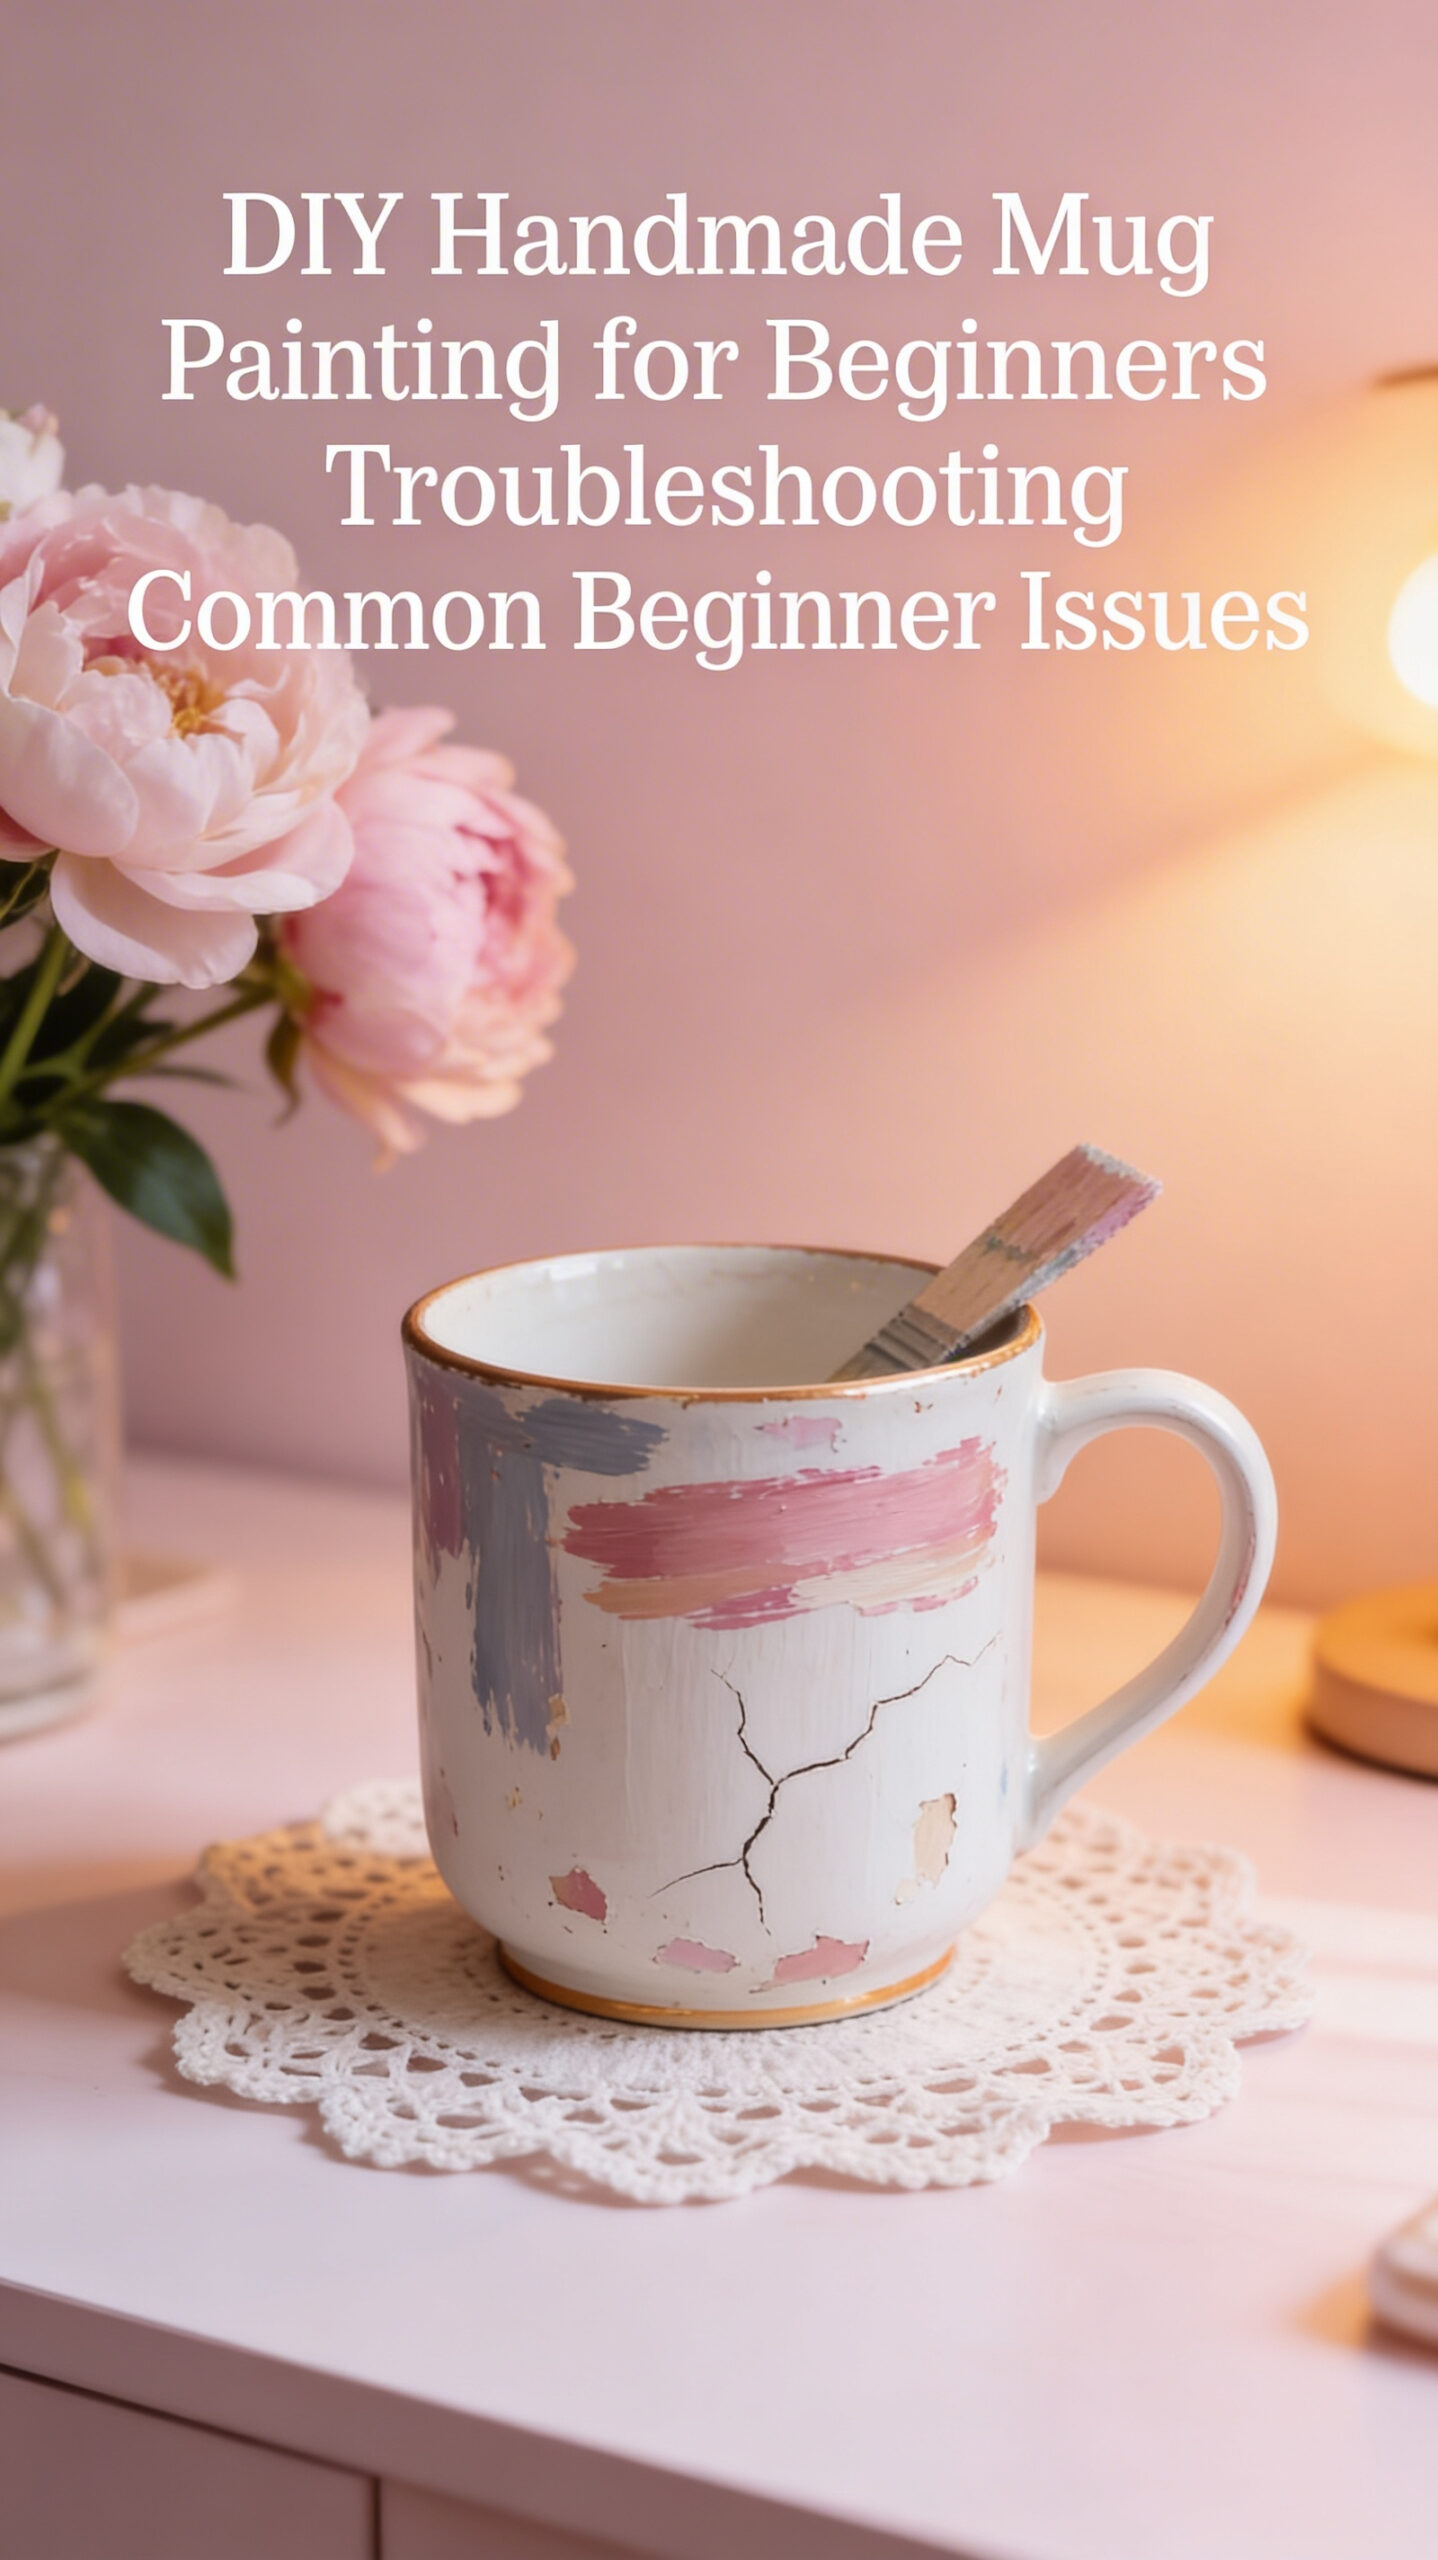
Troubleshooting Common Beginner Issues
Shop the Look
- Rubbing alcohol spray bottle
- Extra fine paint pens refill
- Oven safe thermometer probe
- Surface prep wipes alcohol
Paint Smudged
If you catch it early, wipe gently with rubbing alcohol and reapply.
Paint Looks Streaky
Apply thin second coat after first dries.
Mug Cracked in Oven
This usually happens from temperature shock. Always start with a cool oven.
Paint Peeling After Washing
Surface likely wasn’t cleaned well before painting.
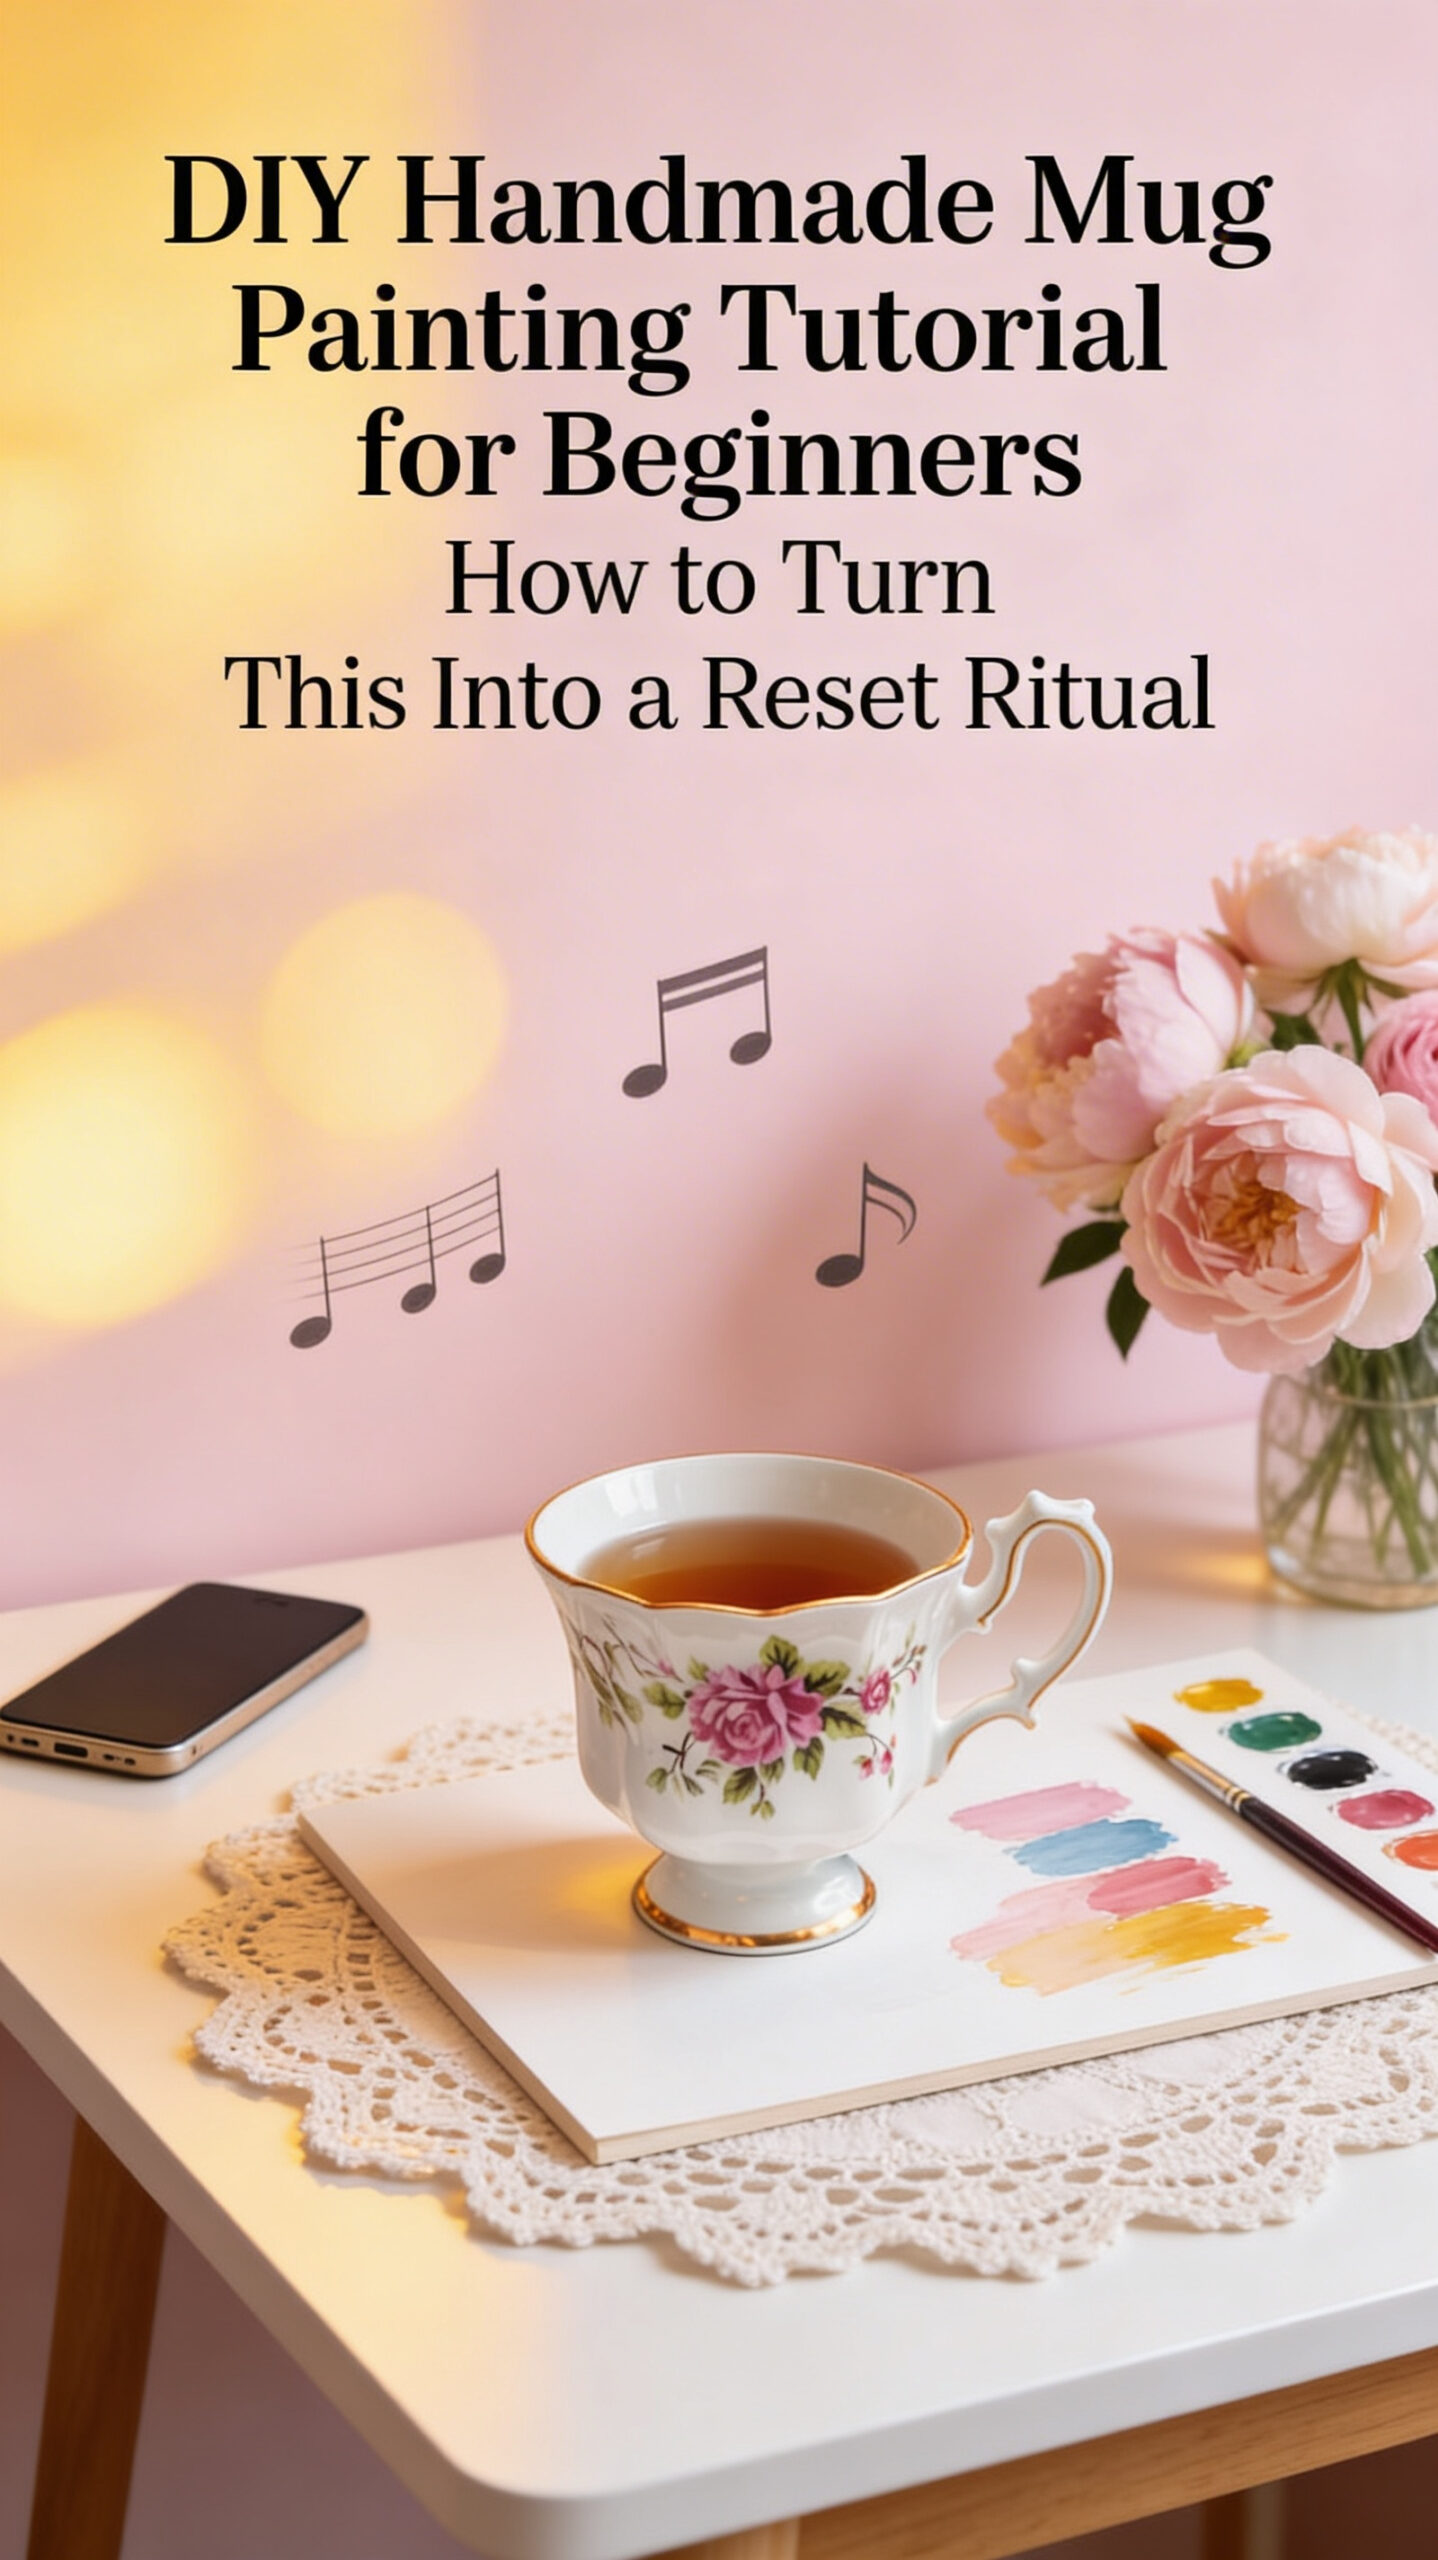
How to Turn This Into a Reset Ritual
Shop the Look: How to Turn This Into a Reset Ritual
- Herbal calming tea bags
- Wireless earbuds white noise
- Small craft table mat
- Relaxing instrumental music CDs
Instead of treating this like a craft project, treat it like a pause.
Make tea first.
Clear a small section of table.
Put your phone in another room.
Play something soft — instrumental music or white noise.
Then paint slowly.
Even if the design is basic, your nervous system benefits from the repetition.
Small, focused tasks calm an overstimulated brain.
Making It Meaningful
Shop the Look
- Bulk blank mugs for gifts
- Coffee beans morning blend
- Gift boxes for mugs
- Seasonal mug design stencils
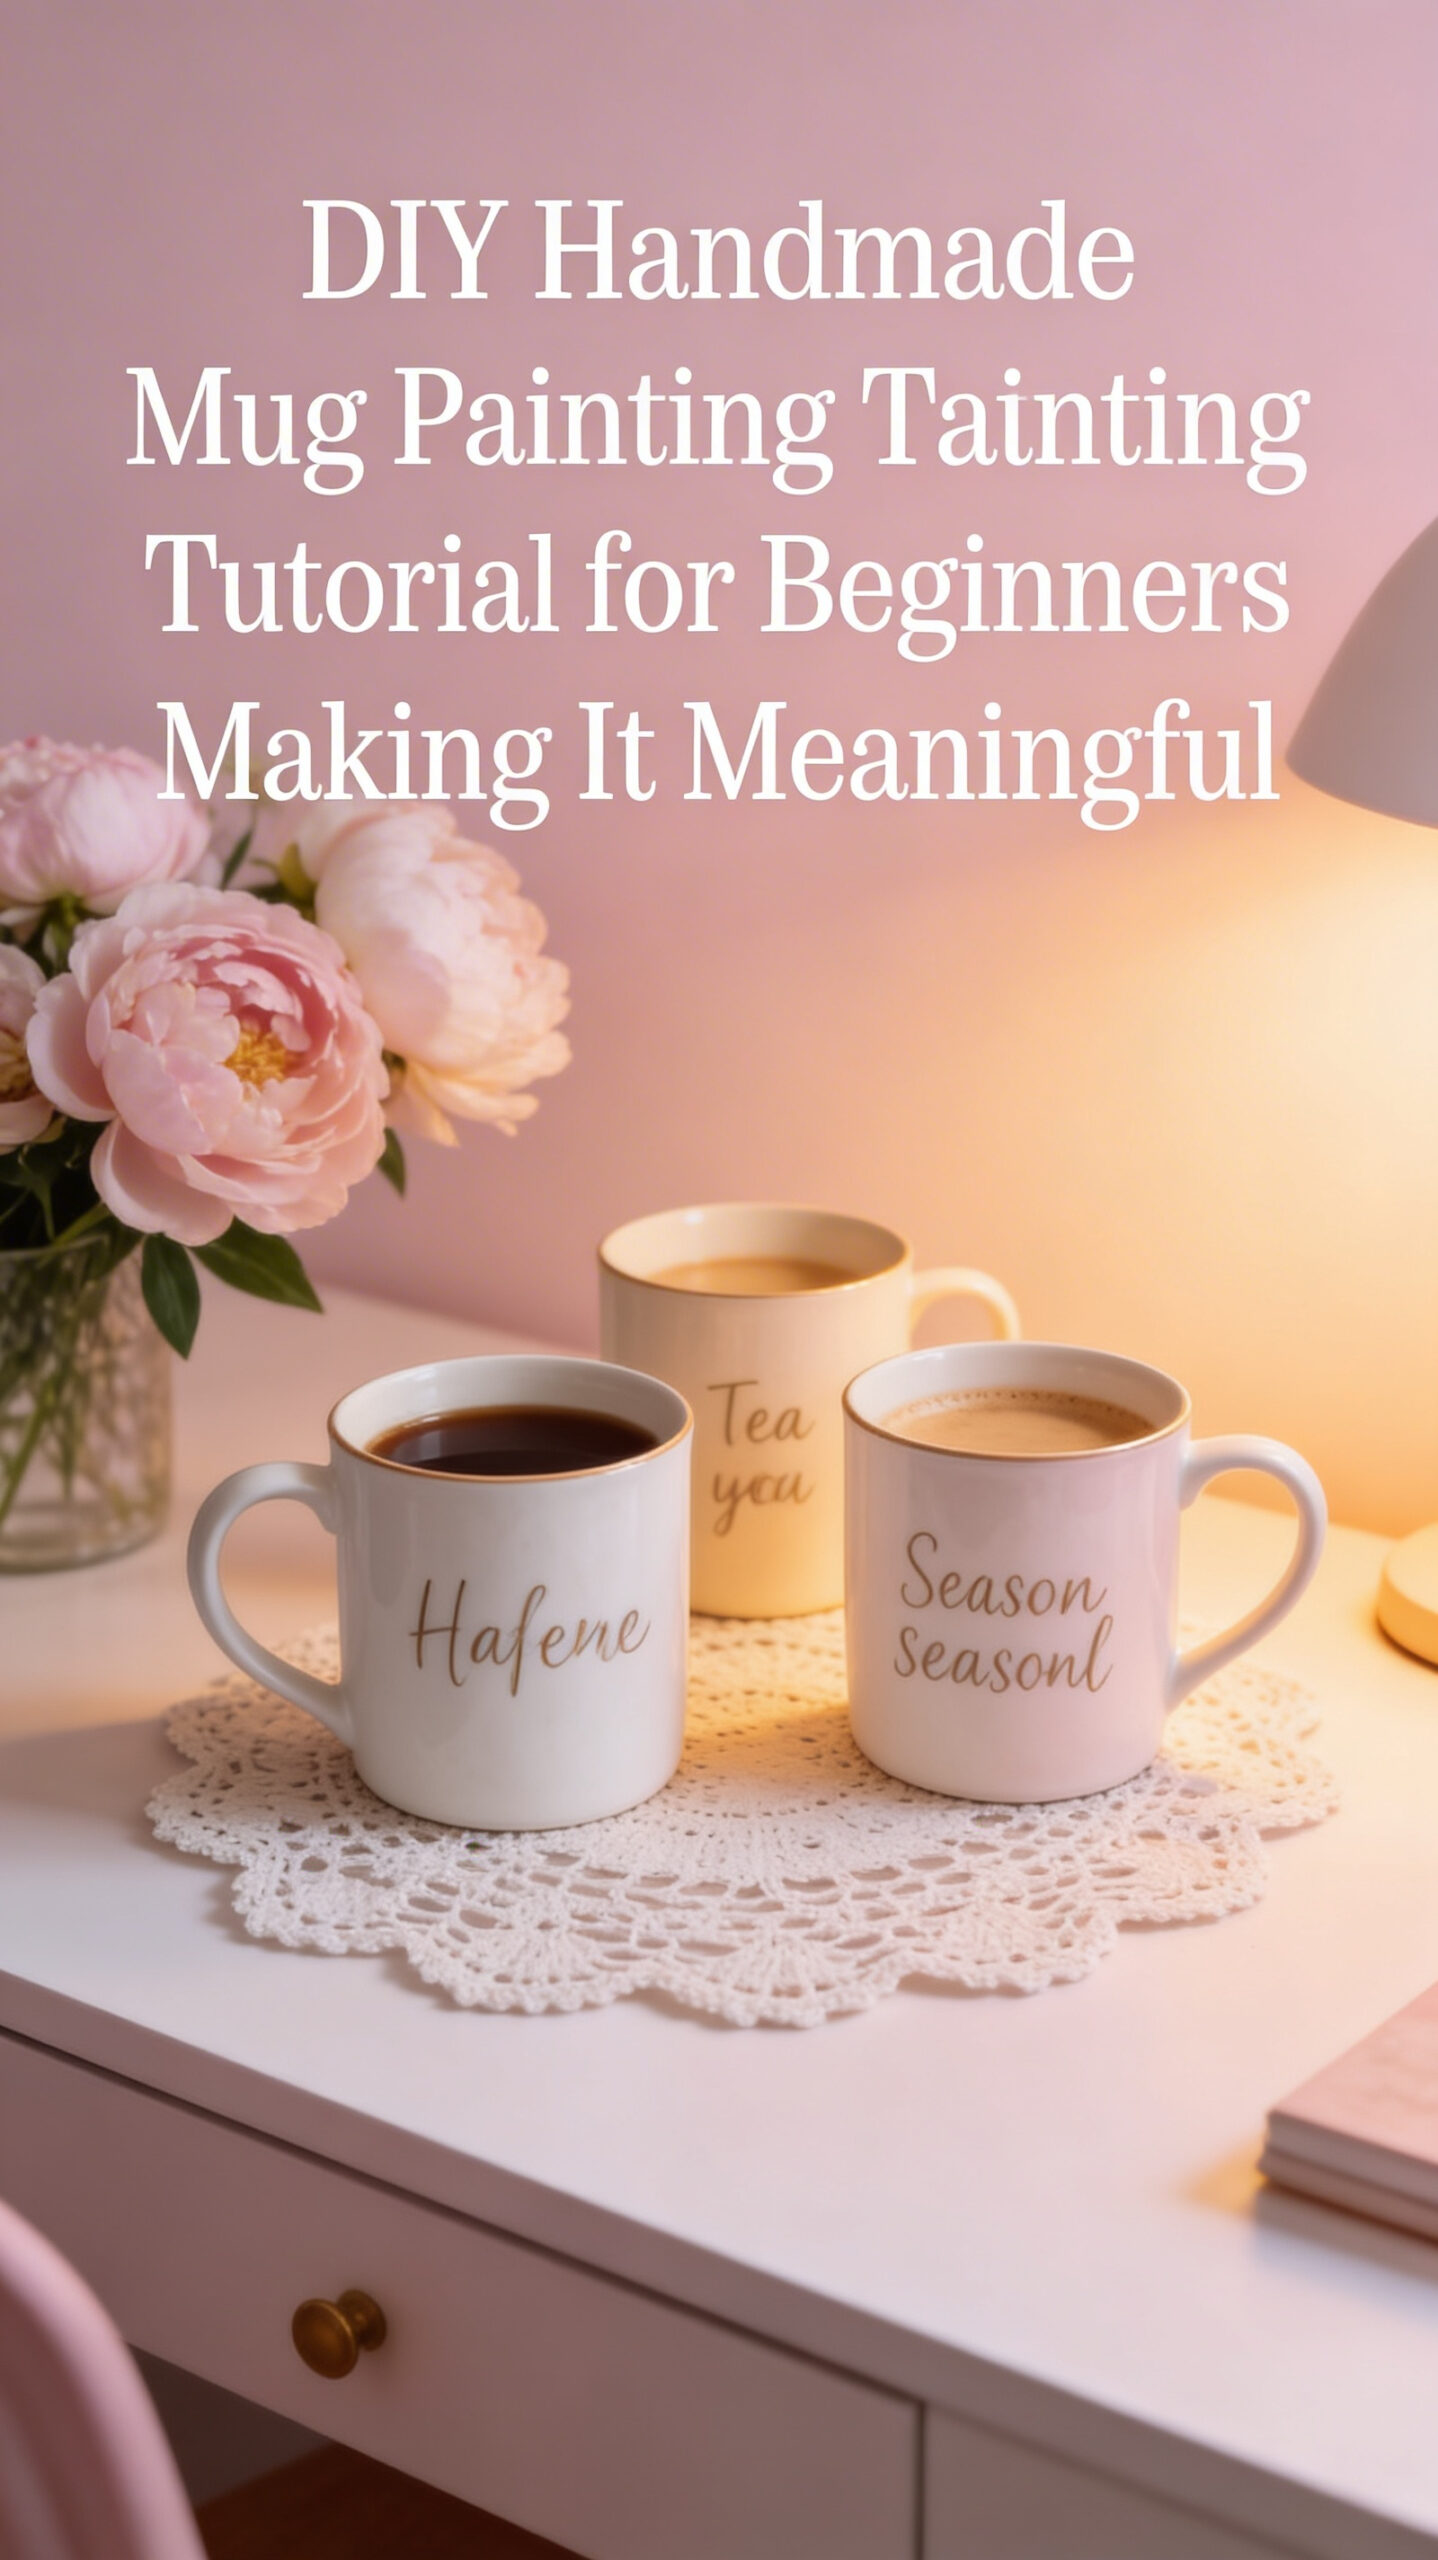
Consider painting:
- A mug for morning coffee
- A mug for evening tea
- A gift for another caregiver
- A “care shift” mug with a grounding word
You could even make one for each season.
The more personal it feels, the more you’ll use it.
Why This Matters More Than It Looks

Shop the Look
- Personalized mug examples inspirational
- Caregiver self-care journals
- Handmade mug display stands
- Relaxation affirmation mugs
Caregiving takes a lot out of you — physically and emotionally.
You spend most of your day responding to someone else’s needs.
Painting a mug won’t fix exhaustion. It won’t solve the workload.
But it gives you:
- A finished task
- A moment of control
- A physical object you created
- A reminder tomorrow morning that you took 30 minutes for yourself
Sometimes that’s enough.
The mug becomes a quiet symbol that you exist outside of responsibility.
And that matters.