Winter is here, and the holiday season is near. Making your own DIY Christmas snowflakes is a great way to get into the holiday spirit. These paper crafts are not only fun but also add a magical touch to your home.
In this guide, we’ll show you how to make beautiful paper snowflakes. You’ll learn about the materials you need, the folding techniques, and design tips. Whether you’re a pro or just starting out, you’ll find a way to bring winter magic into your home.
Key Takeaways
- Discover the essential materials and tools needed to create stunning paper snowflakes.
- Learn the basic folding techniques for crafting perfect snowflakes with ease.
- Explore both simple and advanced snowflake designs to suit your skill level and preferences.
- Unlock creative ways to decorate and display your handmade snowflakes for maximum impact.
- Gain tips for preserving and storing your DIY Christmas snowflakes to enjoy year after year.
Essential Materials for Creating Beautiful Paper Snowflakes
Making stunning paper snowflakes is a fun winter activity. It can turn your home into a winter wonderland. You’ll need the right materials to start. The paper and tools you choose affect your snowflake’s look.
Types of Paper Best Suited for Snowflake Making
The right paper is key for beautiful snowflakes. While printer paper works, try lighter, better-quality papers for the best look. Here are some top picks:
- Tissue paper: Its delicate, translucent quality adds an ethereal touch to your snowflakes.
- Craft paper: Newsprint to colorful construction paper offers a variety of textures and colors.
- Origami paper: Its thin, crisp nature is perfect for detailed, intricate designs.
Required Tools and Supplies
You’ll also need basic tools to make your snowflakes:
- Sharp scissors: They’re crucial for clean, precise cuts.
- Ruler or template: A ruler helps with measuring and folding, or use a template for guidance.
- Pen or pencil: Mark fold lines and design elements on your paper with a pen or pencil.
Optional Decorative Elements
To enhance your snowflakes, add some extra touches:
- Glitter: A light dusting of glitter adds a magical, sparkling effect.
- Metallic accents: Metallic markers or pens add shimmering details.
- Ribbon or string: Use a loop of ribbon or string to hang your snowflakes.
With the right materials and creativity, you can make beautiful christmas decorations to make and snowflake templates. They’ll bring winter’s joy into your home.
Getting Started: Basic Folding Techniques for Perfect Snowflakes
Making beautiful DIY Christmas snowflakes begins with learning basic folding techniques. These steps are crucial for creating symmetrical, stunning snowflakes, whether you’re new or skilled in paper crafting.
To make perfect easy paper snowflake patterns, focus on precise and consistent folds. Begin with a crisp, square sheet of paper. Here are the basic steps for a flawless snowflake:
- Fold the paper in half diagonally to form a triangle.
- Fold the triangle in half to create a smaller triangle.
- Fold the smaller triangle in half to form an even smaller triangle.
- Cut off the bottom corner of the triangle, creating a unique shape.
- Unfold the paper to reveal the intricate snowflake pattern.
“The key to creating perfect snowflakes is patience and attention to detail. Take your time with each fold, and you’ll be rewarded with a beautiful, one-of-a-kind design.”
With practice and trying new things, you’ll get better at making diy christmas snowflakes. Soon, you’ll be able to create many easy paper snowflake patterns to decorate your home for the holidays.
Simple Three-Fold Snowflake Pattern for Beginners
If you’re new to paper snowflakes, start with the classic three-fold design. It’s simple yet elegant. It’s perfect for decorating your home during winter.
Step-by-Step Cutting Guide
To make a three-fold snowflake, follow these steps:
- Start with a square sheet of paper and fold it in half diagonally to form a triangle.
- Fold the triangle in half to create a smaller triangle.
- Trim the bottom corner of the triangle, leaving a small flap attached.
- Unfold the paper and carefully cut along the folded edges, creating intricate patterns.
- Unfold the paper to reveal your stunning three-fold snowflake design.
Common Mistakes to Avoid
When making paper snowflakes, don’t cut too much. This can ruin the symmetry. Also, make sure your folds are crisp and precise.
Design Tips for Symmetry
To get perfect symmetry, focus on your cuts. Cut the same distance from the edges on each side. Keep the spacing between patterns consistent for a balanced design.
With practice and these tips, you’ll make beautiful three-fold snowflakes. They’ll add winter wonder to your holiday decor. Try different papers and techniques to make unique designs that will wow your friends and family.
Advanced Six-Fold Snowflake Designs for Stunning Results
If you’re a seasoned crafter, this section is for you. It explores the world of advanced six-fold beautiful snowflake decorations. Take your diy christmas snowflakes to the next level with these designs. They show off your creativity and detail.
Creating six-fold snowflakes needs patience and precision. But the results are amazing. These snowflakes are complex, with detailed cuts that turn simple paper into winter wonders.
- Discover the key folding techniques that form the foundation of six-fold snowflakes.
- Learn how to execute precise cuts that result in symmetrical, awe-inspiring designs.
- Explore creative ways to personalize your snowflakes with unique patterns and motifs.
- Unlock the secrets to achieving flawless, balanced snowflakes every time.
Our step-by-step guide will help you make stunning beautiful snowflake decorations. They’ll be the highlight of your diy christmas snowflakes display. Get ready to wow your friends and family with your snowflake skills!
“The beauty of a snowflake lies in its intricate design, a testament to the power of simplicity and the wonders of nature.”
| Folding Technique | Cutting Pattern | Skill Level |
|---|---|---|
| Classic Six-Fold | Symmetrical Geometric | Advanced |
| Spiral Six-Fold | Curving Leaf-Like | Intermediate |
| Layered Six-Fold | Intricate Lace-Inspired | Expert |
Let the charm of advanced six-fold beautiful snowflake decorations inspire you. Take your diy christmas snowflakes to enchanting new heights.
DIY Christmas Snowflakes, Easy Snowflake Crafts, How to Make Paper Snowflakes
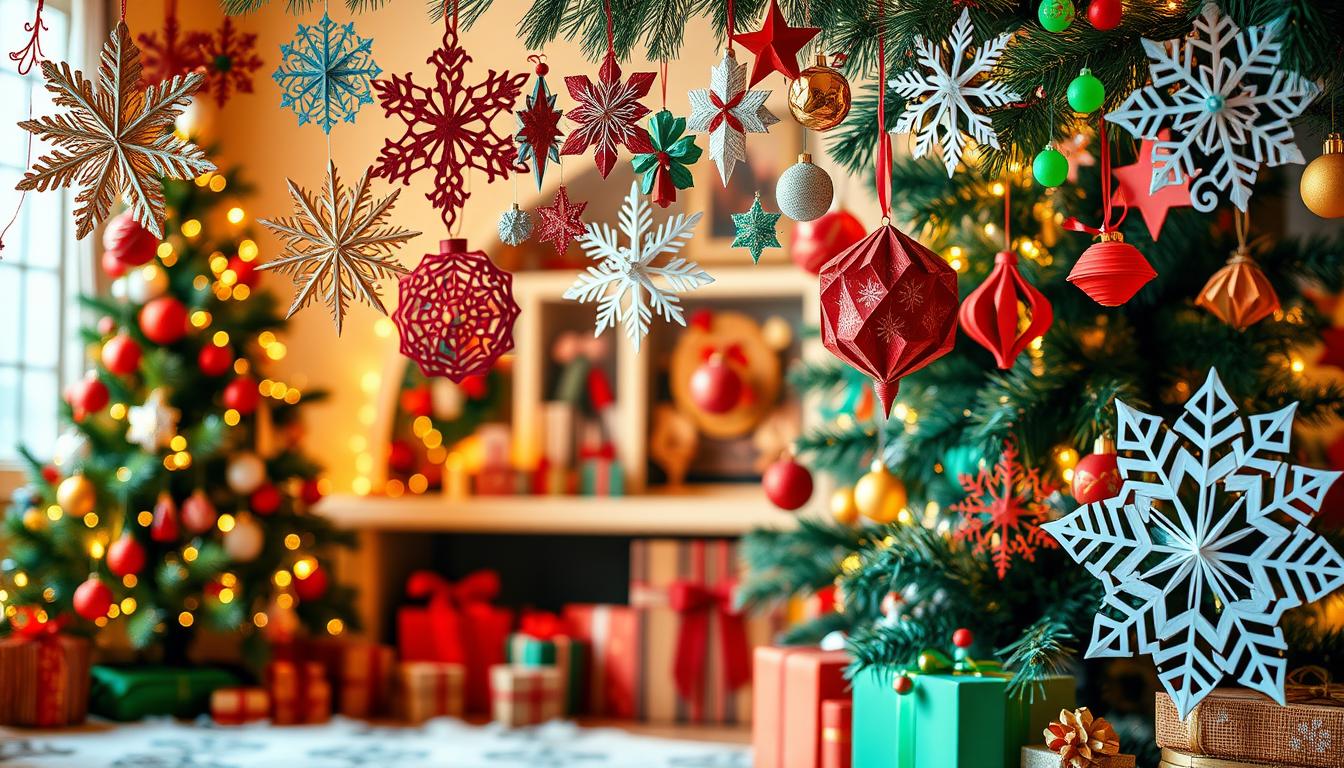
As winter gets closer, making festive paper snowflakes becomes a must. You can go for classic beauty or a modern look. We’ll show you how to make unique snowflakes for your holiday decor.
We’ll cover various snowflake designs, from old favorites to new styles. You’ll learn how to make snowflakes of all sizes. This way, you can decorate your space just right.
Traditional Patterns
Classic snowflake designs have been loved for years. They show off intricate details and timeless beauty. These designs add elegance and a touch of nostalgia to your winter crafts and festive diy projects.
Modern Interpretations
But there’s also a new wave of snowflake designs. They mix tradition with modern flair. You’ll find bold lines, geometric shapes, and unique forms. These designs bring a fresh look to your holiday decor, making it stand out.
Size Variations
Paper snowflakes come in all sizes, not just shapes. You can make tiny, detailed snowflakes or big, eye-catching ones. Using different sizes adds depth and balance to your winter crafts and festive diy displays.
“The art of crafting paper snowflakes is a truly magical experience, where each creation is a one-of-a-kind masterpiece.”
Creative Ways to Display Your Paper Snowflakes

Making beautiful paper snowflakes is a fun holiday tradition. The real fun is showing them off. Find new ways to display your christmas decorations to make and beautiful snowflake decorations. Turn your home into a winter wonderland.
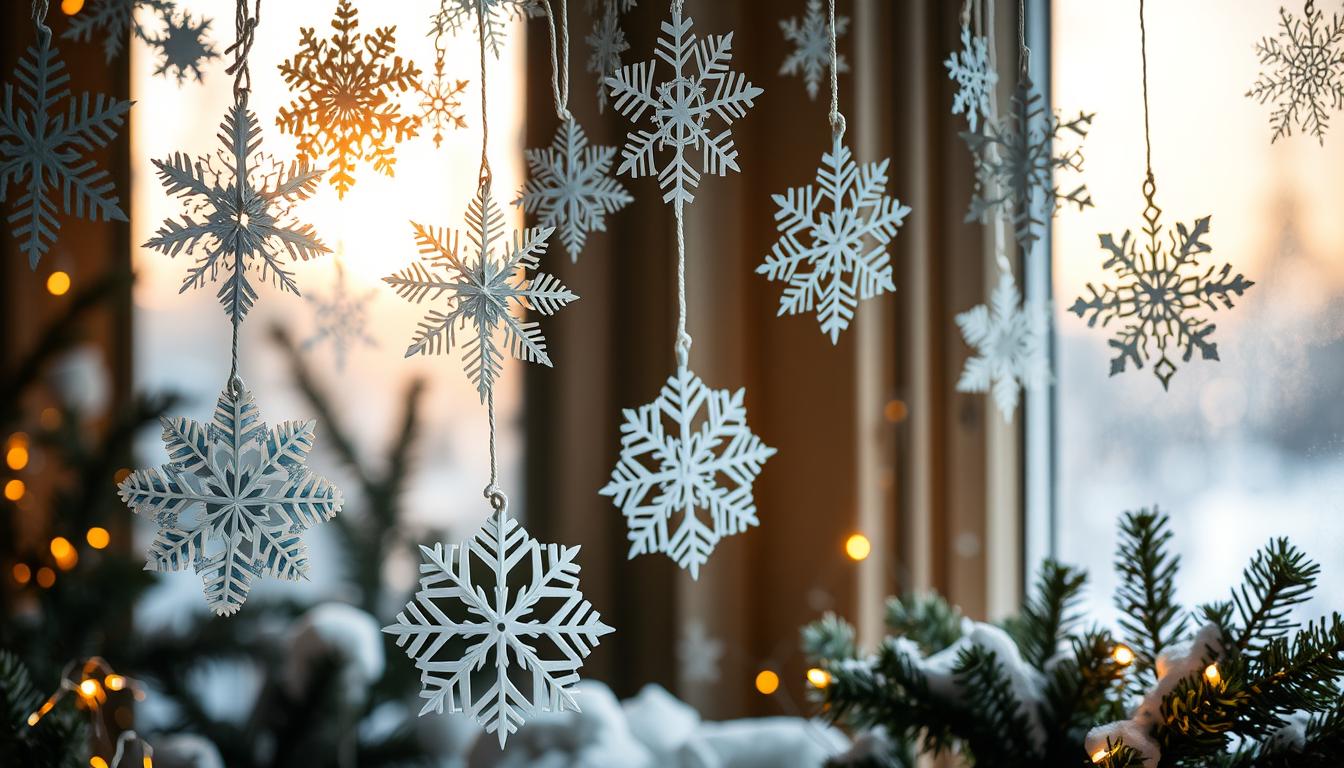
One cool idea is a snowflake garland. String different-sized snowflakes together. Hang them on a mantel, staircase, or entryway. It’s a lively display that will impress your guests.
For a neat look, group snowflakes in clusters. You can arrange them in patterns or randomly. Attach them to walls or windows with fishing line or tape. It highlights the beauty of each snowflake.
| Snowflake Display Ideas | Description |
|---|---|
| Snowflake Garland | String together an assortment of paper snowflakes in varying sizes and patterns, then hang them gracefully across a mantel, staircase, or entryway. |
| Snowflake Clusters | Arrange your snowflakes in symmetrical or random patterns and attach them to a wall or window using clear fishing line or double-sided tape. |
| Snowflake Chandelier | Suspend a collection of paper snowflakes from the arms of a chandelier or light fixture to create a captivating overhead display. |
| Snowflake Mobile | Craft a whimsical mobile by hanging different-sized snowflakes from a hoop or branch using fishing line or thin wire. |
For a stunning look, hang snowflakes from a chandelier. It makes a beautiful overhead display. It turns any room into a winter wonderland.
Or, make a mobile with snowflakes. Hang them from a hoop or branch with fishing line. As it moves, the snowflakes seem to dance.
Displaying your christmas decorations to make and beautiful snowflake decorations is all about creativity. Try different ways to show off your snowflakes. Find the perfect way to display your creations.
“The best way to spread Christmas cheer is singing loud for all to hear.” – Buddy the Elf
Adding Sparkle: Decorating Your Snowflakes with Glitter and Paint
Make your festive DIY paper snowflakes sparkle with glitter and paint. These easy steps can turn your snowflakes into stunning decorations. They will surely impress your holiday guests.
Glitter Application Methods
Here are ways to add a shiny finish:
- Dip the snowflake into glitter, then gently shake off extra.
- Apply glue or mod podge with a small brush, then sprinkle glitter.
- Lightly spray the snowflake with adhesive, then sprinkle glitter right away.
Paint Techniques
Use acrylic paints for a colorful look:
- Paint the whole snowflake one color for a bold look.
- Use a small brush for detailed patterns and designs.
- Paint just the tips or edges for a soft color touch.
Finishing Touches
Finish your snowflakes with these touches:
| Idea | Description |
|---|---|
| Ribbon Hangers | Attach a loop of ribbon to hang your snowflake easily. |
| Dimensional Layers | Glue snowflakes together for a three-dimensional look. |
| Metallic Accents | Use a gold or silver marker for detailed lines. |
With these decorating tips, your snowflakes will be the highlight of your winter wonderland.
Making Large-Scale Snowflakes for Statement Decor
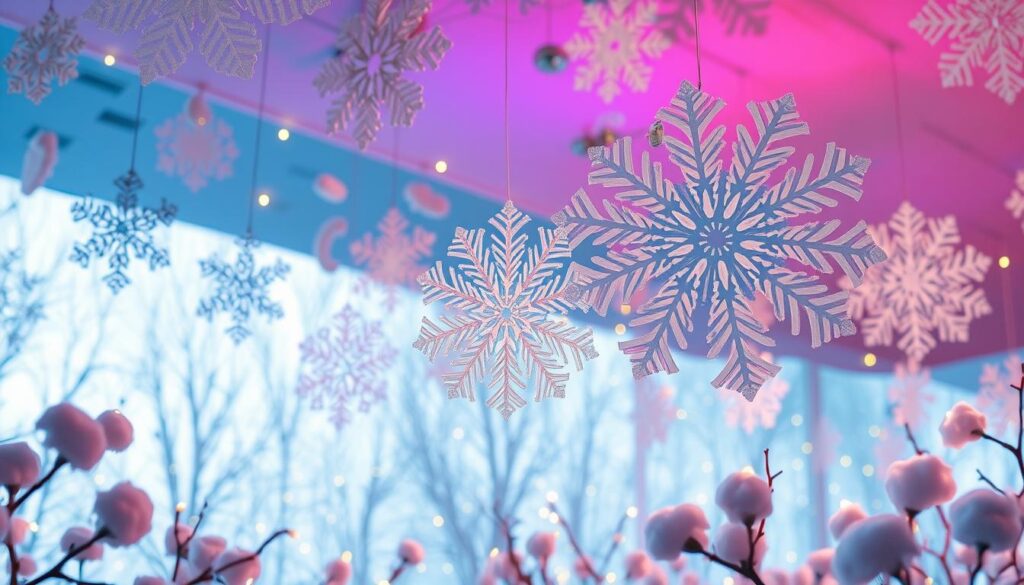
Creating oversized diy christmas snowflakes is a great way to make your holiday displays stand out. These grand decorations can add whimsical winter charm to any space. They turn simple paper into something truly special.
Working with bigger sheets of paper requires careful technique. This ensures your snowflakes are sturdy and have detailed, symmetrical designs. By using the right christmas decorations to make methods, your snowflakes can be the highlight of your holiday decor.
Selecting the Right Materials
Start by picking high-quality, sturdy papers for your snowflakes. Choose materials like cardstock or art paper. They will keep their shape and support your creations well.
Mastering the Folding Techniques
Folding is crucial for making large snowflakes. Learn the basics of three-fold and six-fold techniques. Then, adjust them for your paper size. Try different patterns to find unique designs.
Cutting with Care
When cutting your snowflakes, be precise and patient. Focus on keeping your cuts symmetrical. Use sharp scissors for clean, defined edges that will make your snowflakes look great.
Learning to make large diy christmas snowflakes can turn your home into a winter wonderland. It shows off your creativity and adds magic to your christmas decorations to make.
Kid-Friendly Snowflake Patterns and Safety Tips
Getting kids to make snowflakes is a fun winter activity. It helps them be creative and improve their fine motor skills. Parents and teachers can use kid-friendly patterns and safety tips to make it a great experience.
Simplifying the Snowflake Design
For easy snowflake crafts with kids, start with simple designs. Here are some ideas:
- Four-fold snowflakes with basic cuts: These symmetrical designs are perfect for young children, as they require minimal folding and cutting.
- Snowflakes with rounded edges: Opt for patterns with curved shapes instead of sharp points, making them safer and easier for little hands to manage.
- Minimal details: Steer clear of intricate, lacy designs and focus on bold, geometric shapes that are visually striking yet straightforward to execute.
Ensuring Safe Scissor Use
When kids use scissors in winter crafts, safety is key. Here’s what to do:
- Supervise young children closely during the cutting process.
- Provide child-safe scissors with blunt tips to prevent injuries.
- Teach proper scissor-holding techniques and encourage careful, controlled snipping motions.
- Demonstrate how to safely carry and transport scissors to and from the work area.
By using these kid-friendly snowflake patterns and safety tips, you can create a safe and fun space for kids to enjoy making snowflakes.
Preserving and Storing Your Paper Snowflakes
Creating stunning paper snowflakes for Christmas decor is exciting. But, it’s key to know how to keep them for next year. With the right steps, your festive DIY creations can last for years.
Protection Methods
Handling your paper snowflakes with care is essential. Gently remove any loose glitter or debris. Then, lightly spray them with a clear acrylic sealant for extra protection.
This keeps your snowflakes looking great. It ensures they stay in perfect condition.
Storage Solutions
Storing your snowflakes right is important. Use acid-free archival boxes or envelopes to keep them flat and safe. Place each snowflake between layers of acid-free tissue paper or cardboard for extra support.
Reuse Tips
Paper snowflakes can be reused year after year. This makes your festive DIY decorations a cherished tradition. When it’s time to decorate again, gently take out your snowflakes.
Try using them in new and creative ways. With proper care, your snowflakes will keep bringing holiday joy for many years.

